


Protect Your CPAP Equipment
Protect Your CPAP Equipment | Essential Maintenance Tips and Tricks
Weekly cleaning of your CPAP equipment is essential to ensure good hygiene but it also can extend the life of your equipment. Here's a weekly cleaning routine that you may find useful.
Mask and Tubing
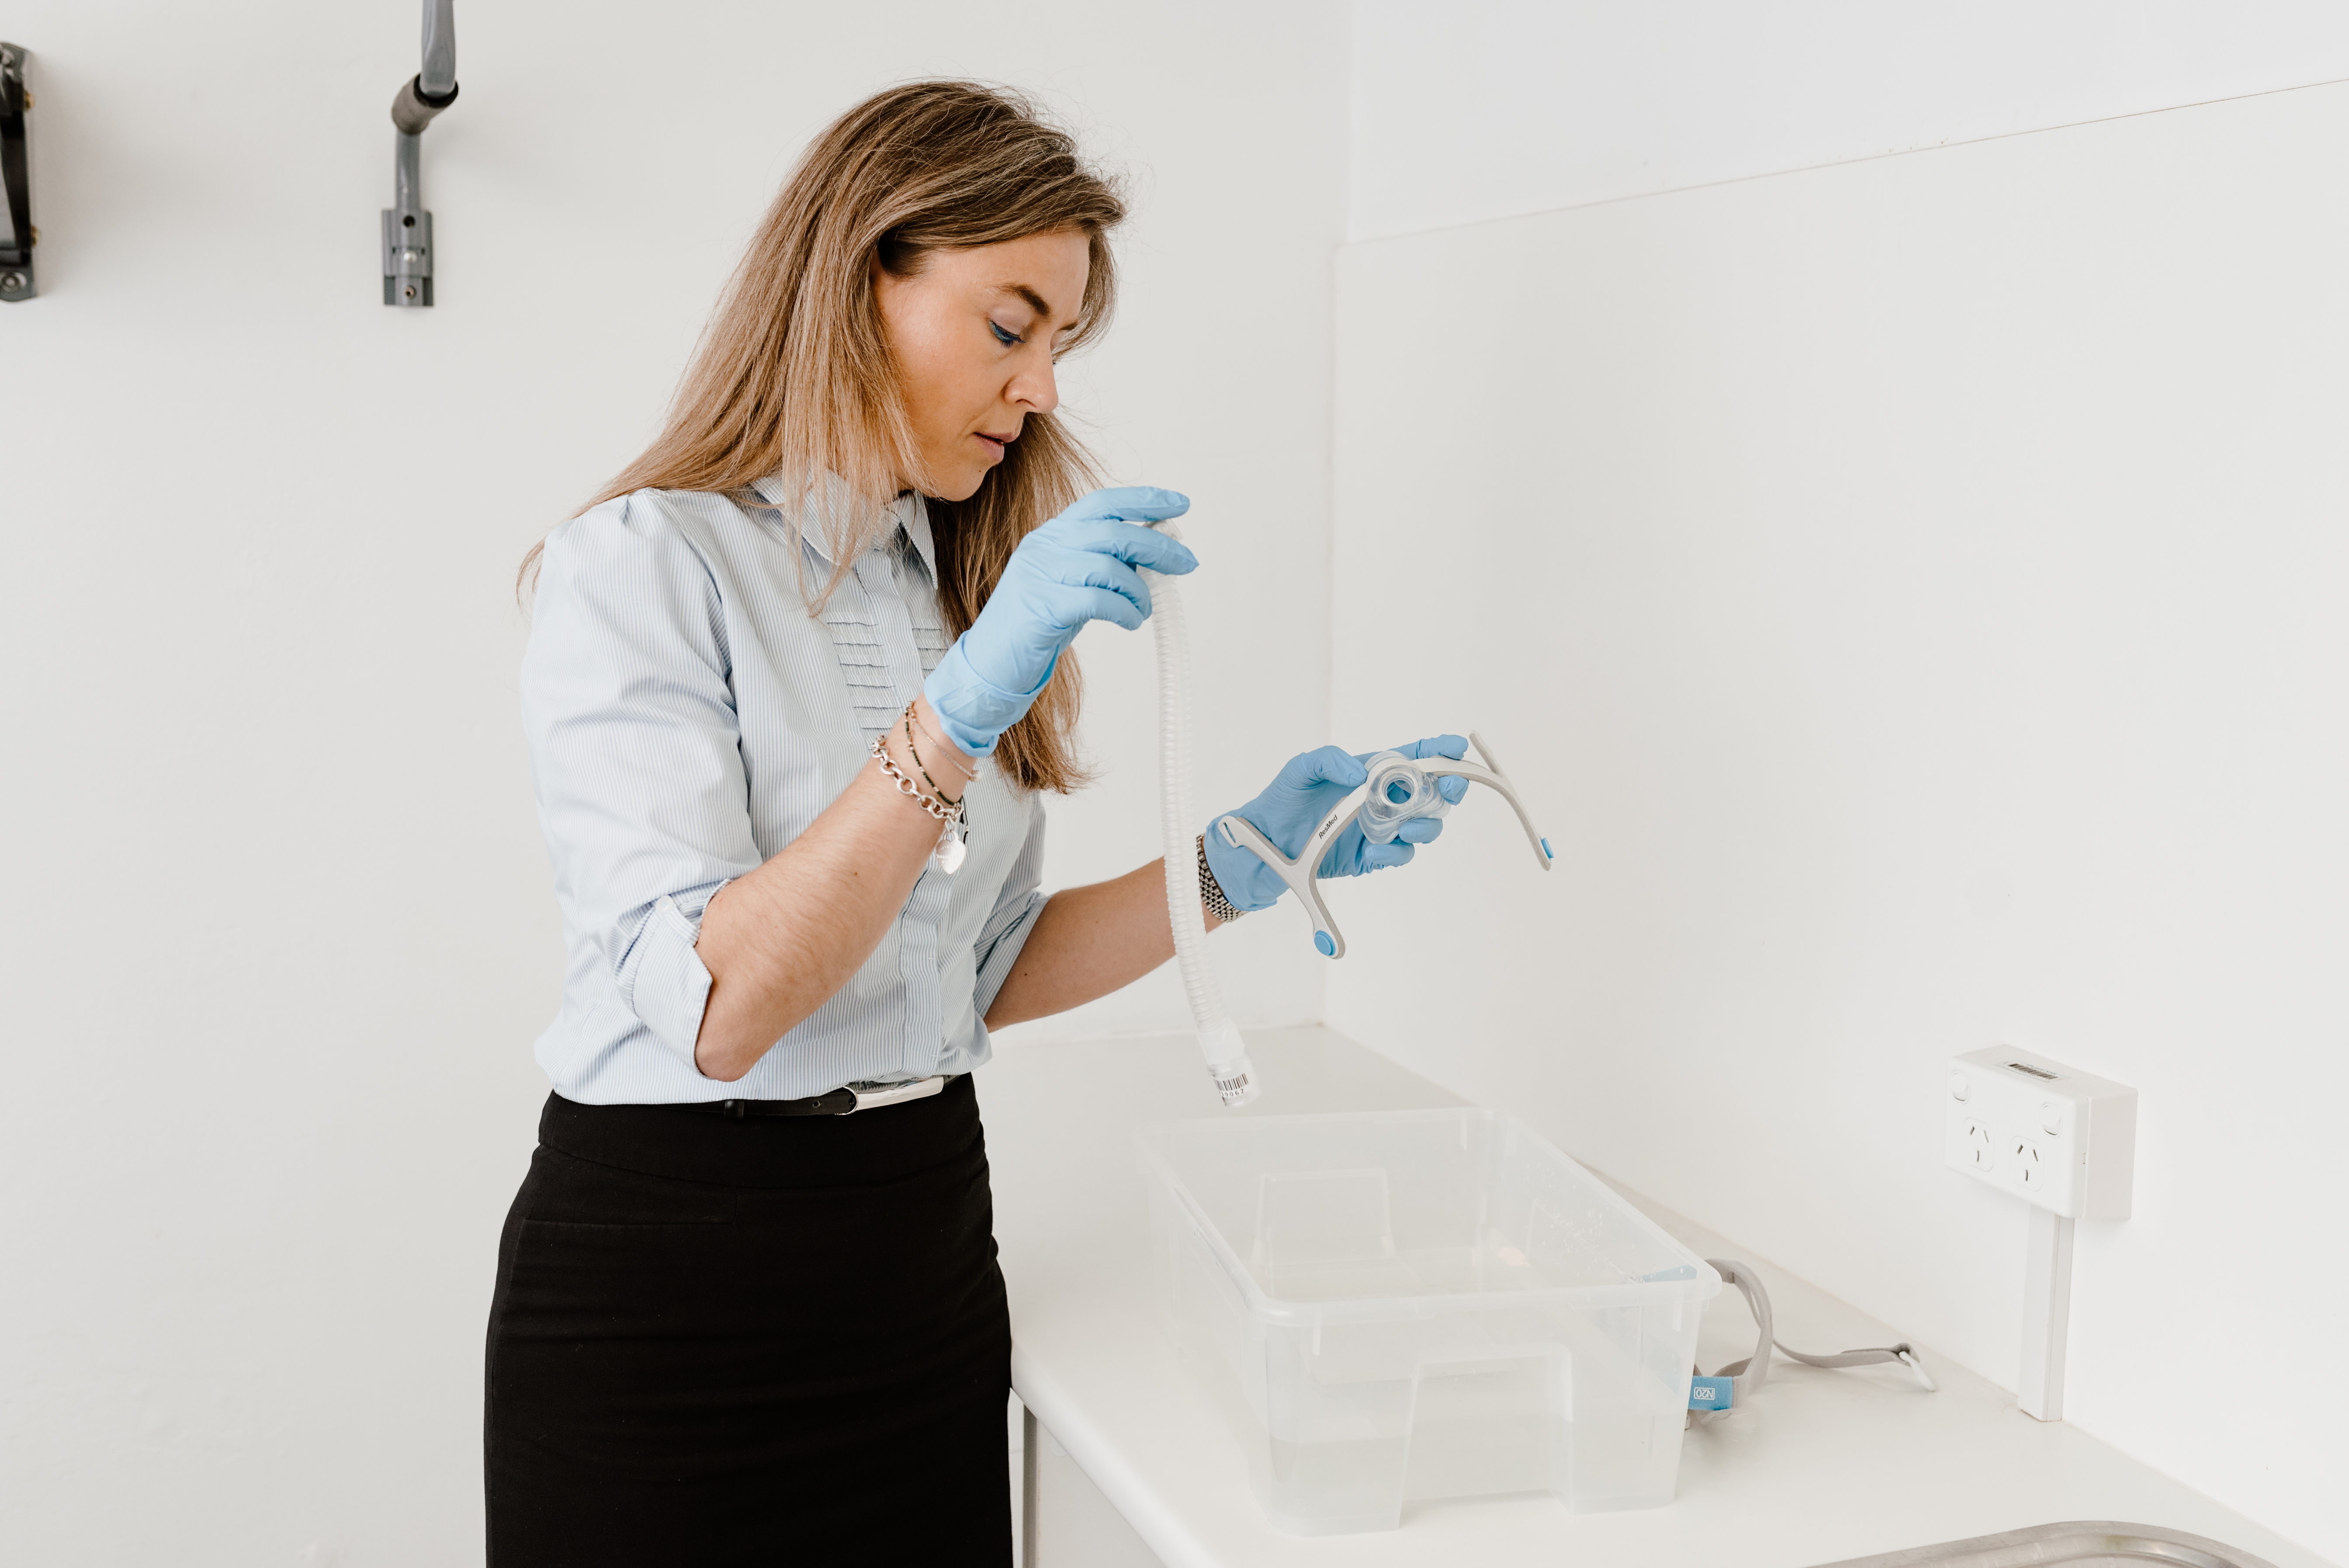
1) Disconnect the mask and air tubing from the CPAP machine.
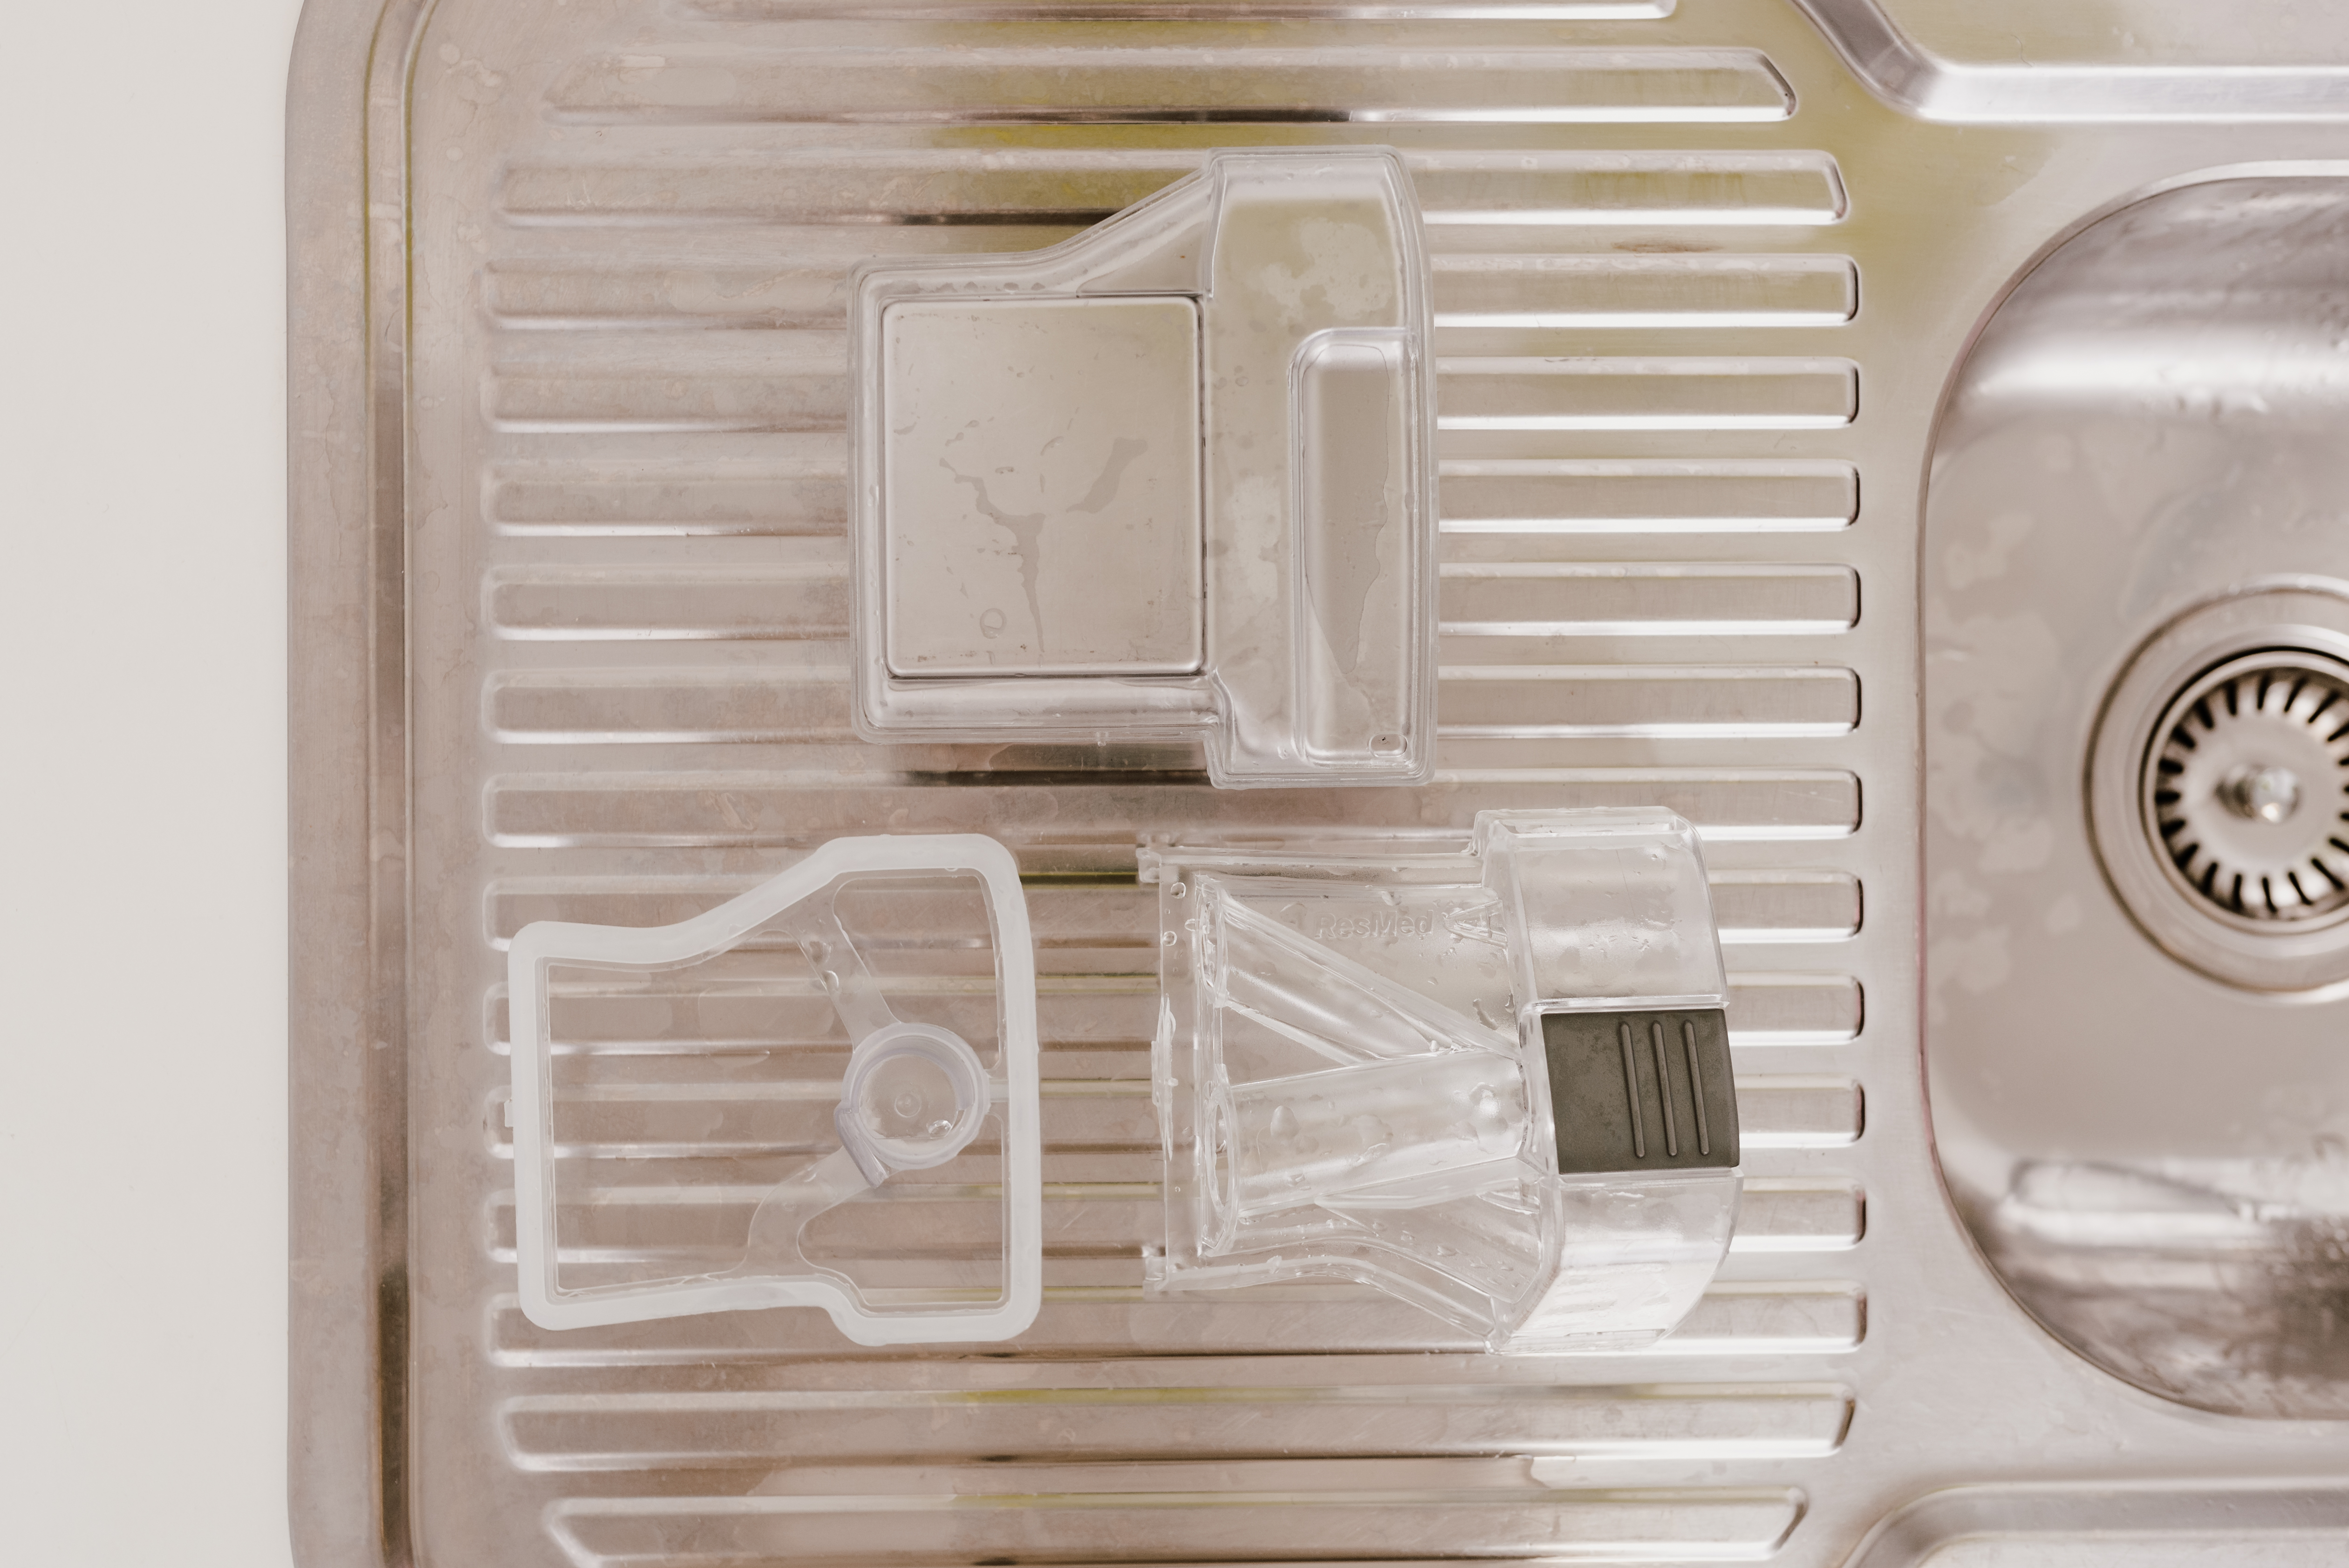
2) Separate your mask into 3 parts (headgear, frame and cushion)
4) Fill your sink or tub with warm soapy water then submerge all parts. Hand wash all parts and avoid using harsh detergents, as they may damage the mask or leave harmful residue.
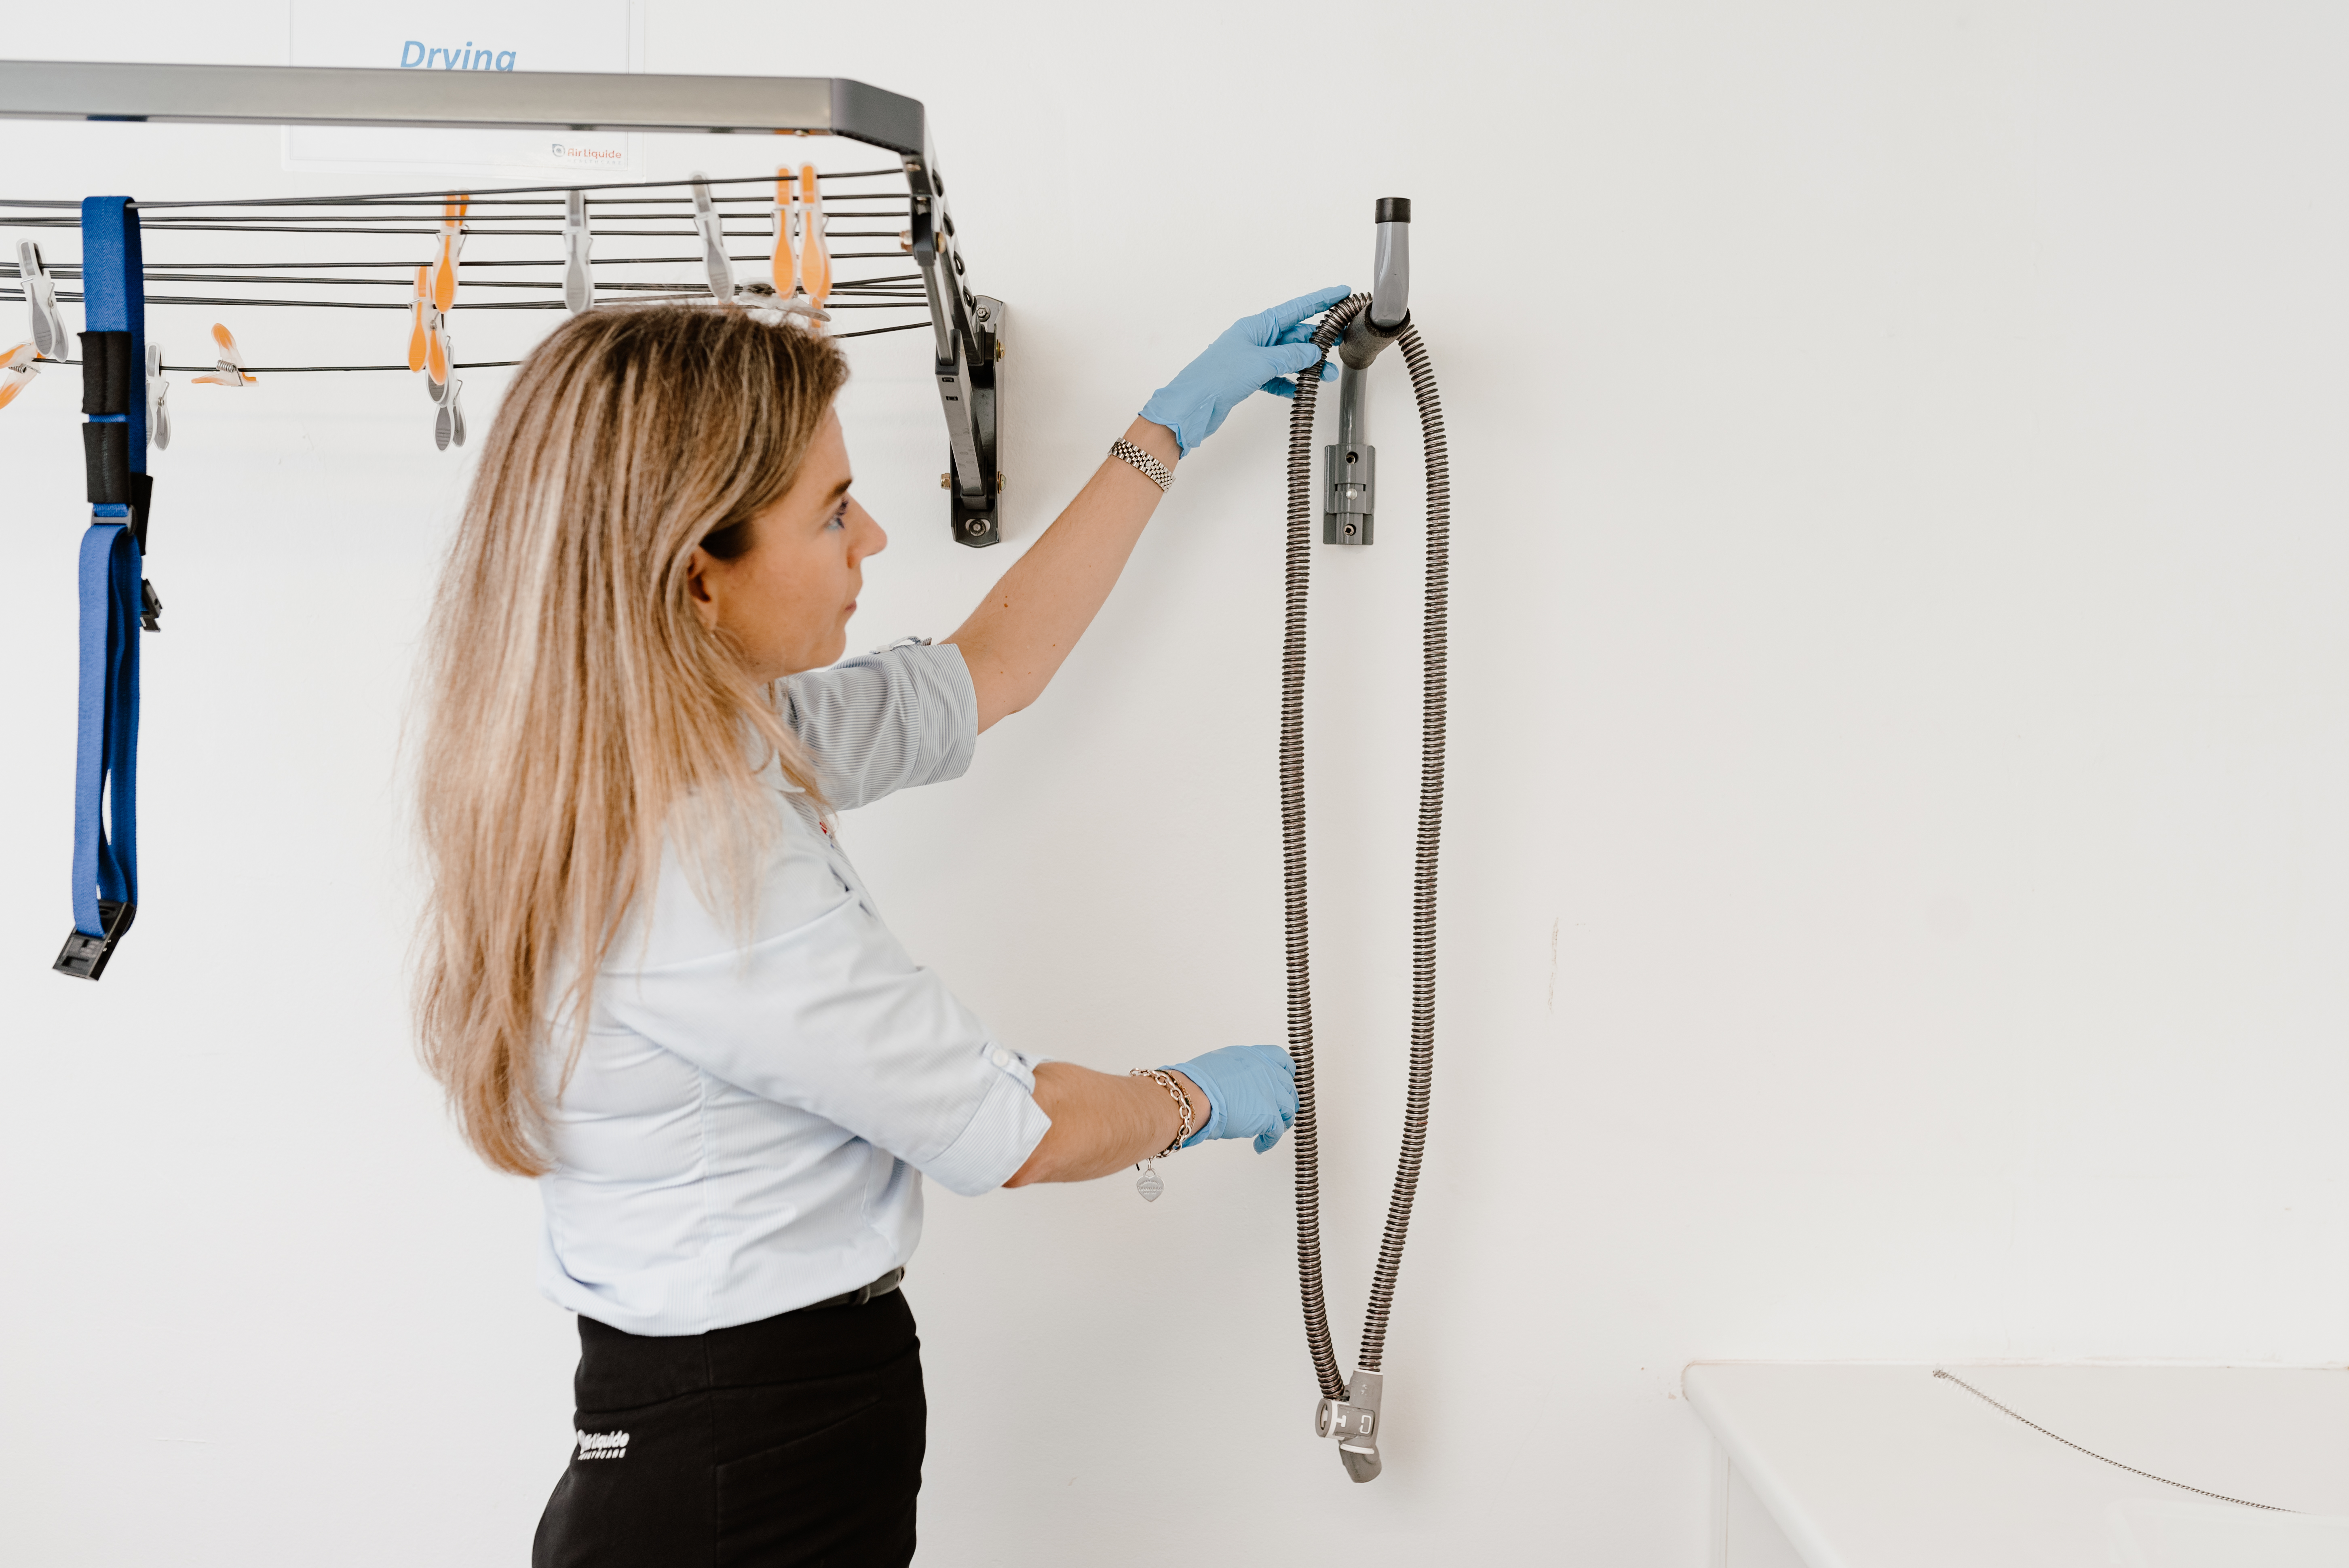
5) Rinse all parts with water then air dry during the day. Avoid direct sunlight as it can affect the plastic and elastic straps.
Humidifier
1) Remove humidifier from CPAP machine, empty remaining water and dismantle
2) Fill your sink or tub with 1 part white vinegar and 5 parts warm water.
3) Soak all humidifier parts for 30 mins
4) Rinse all parts thoroughly with water and let air dry out of direct sunlight
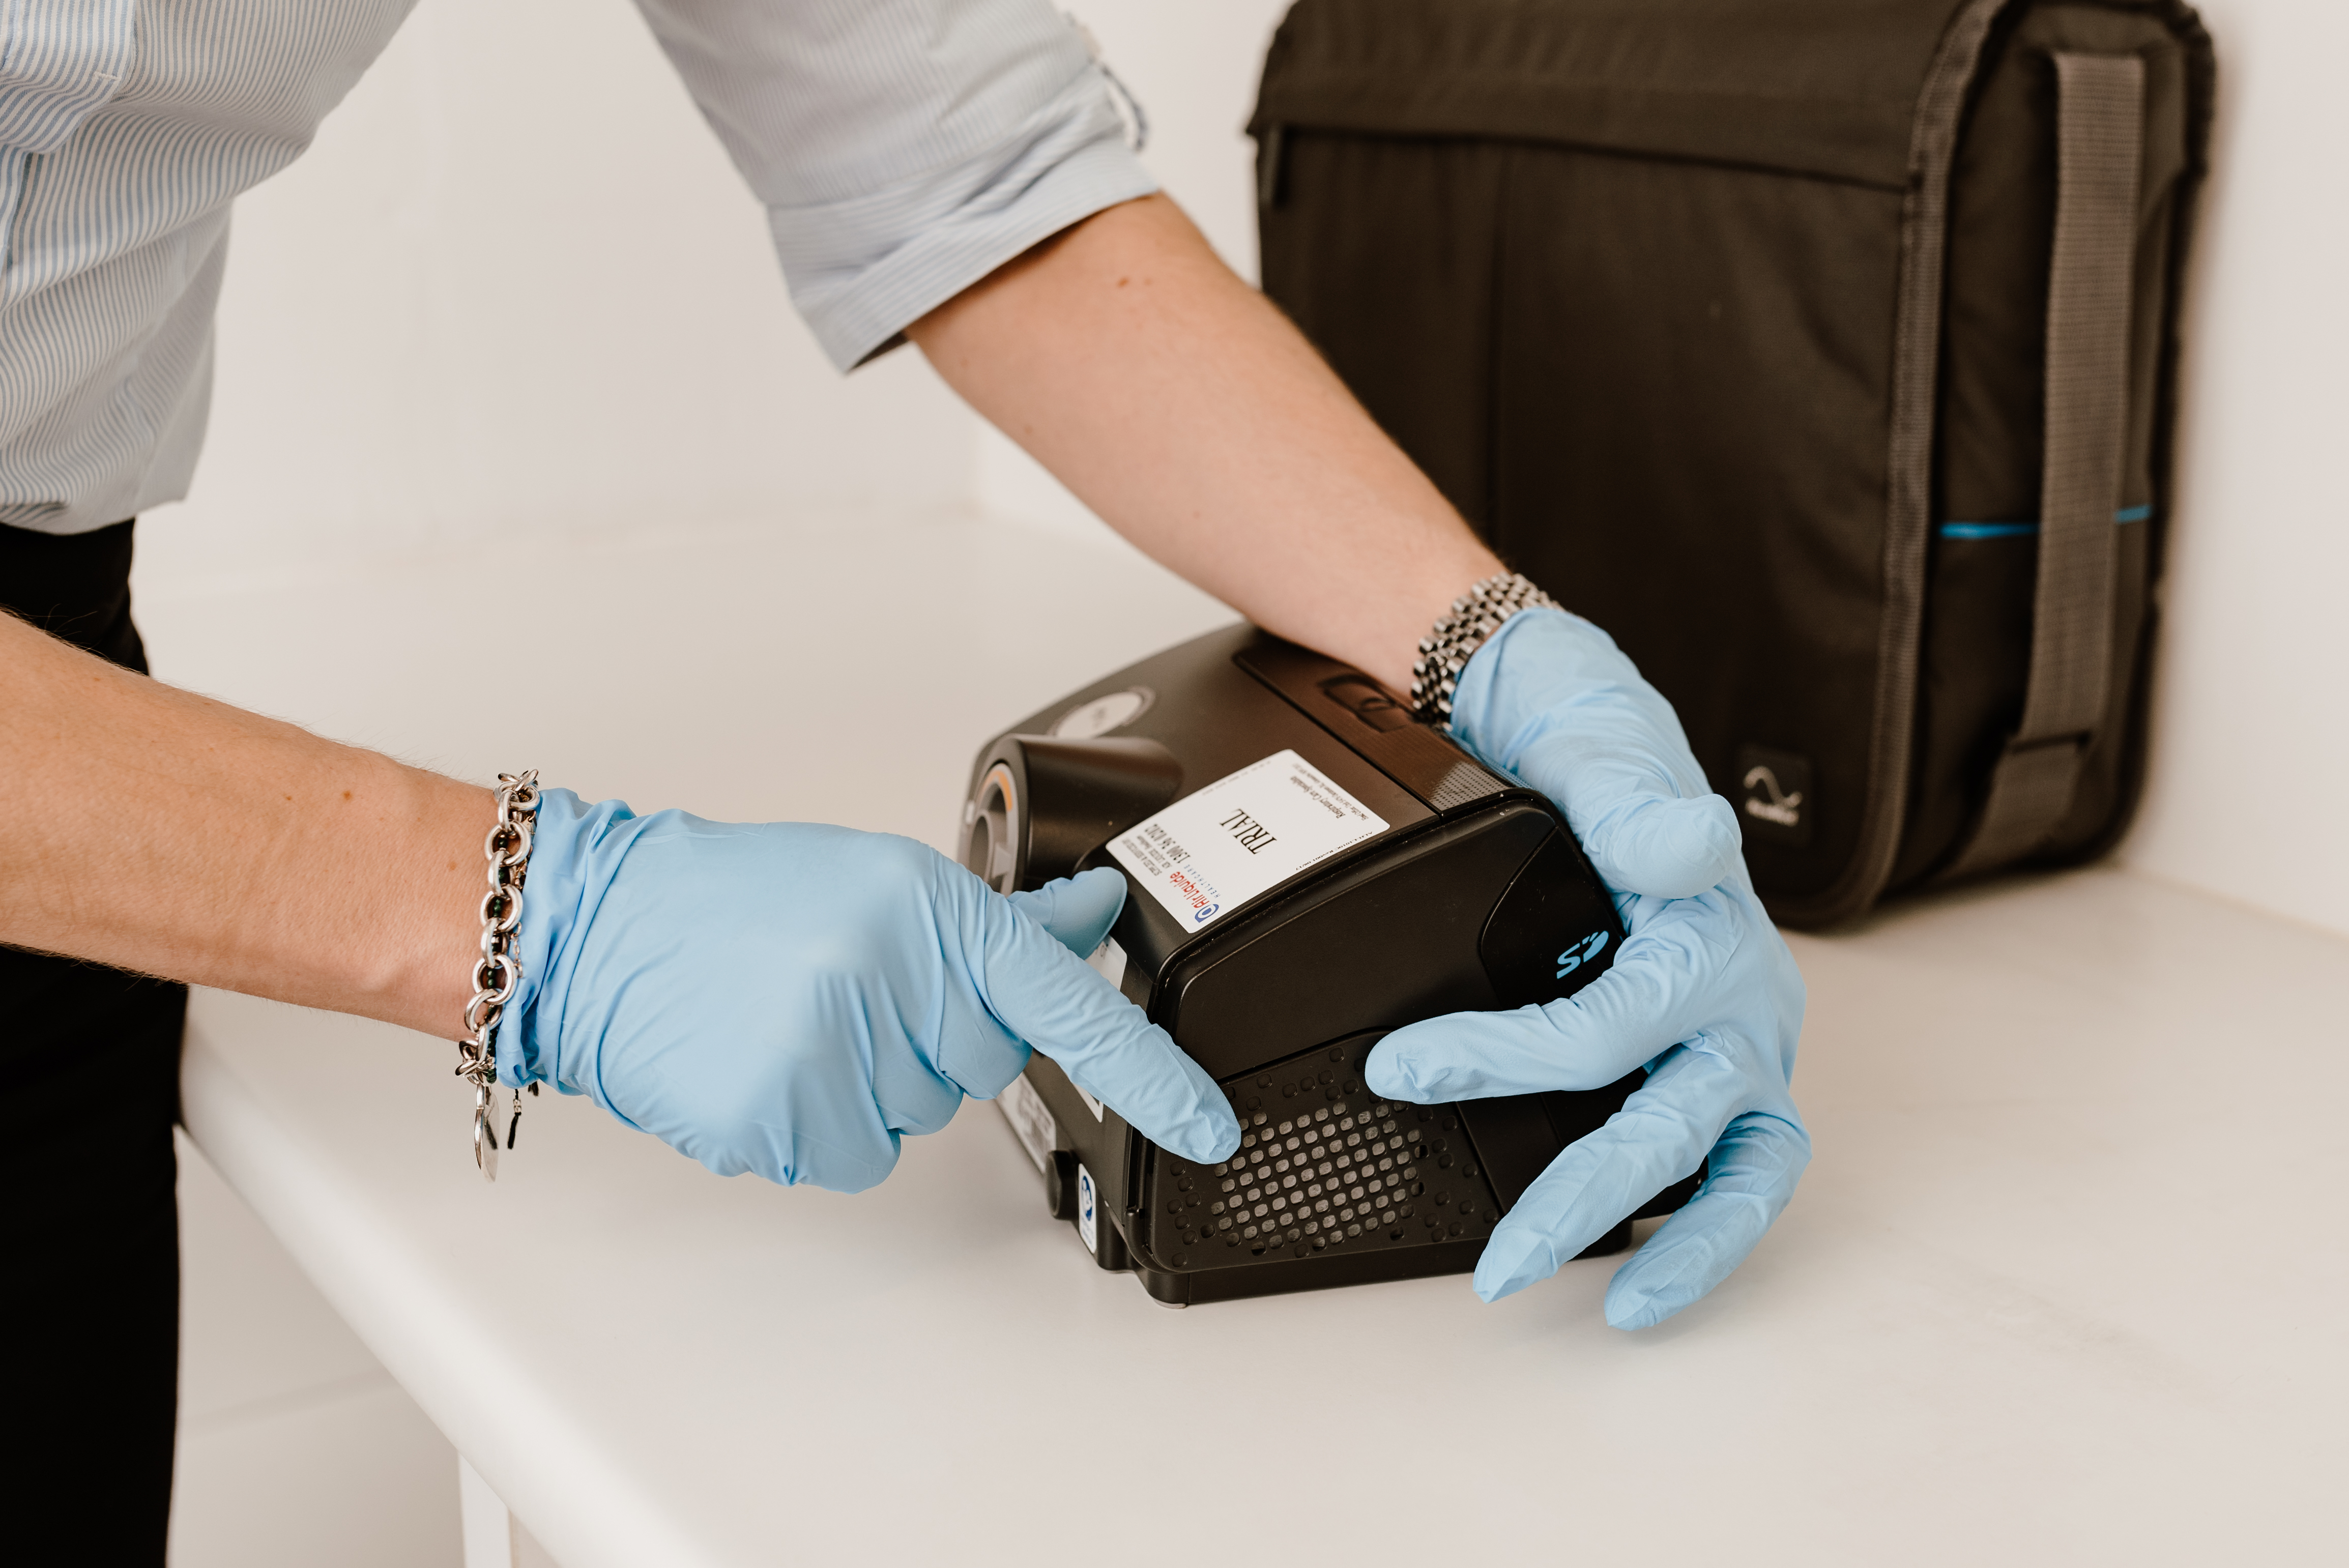
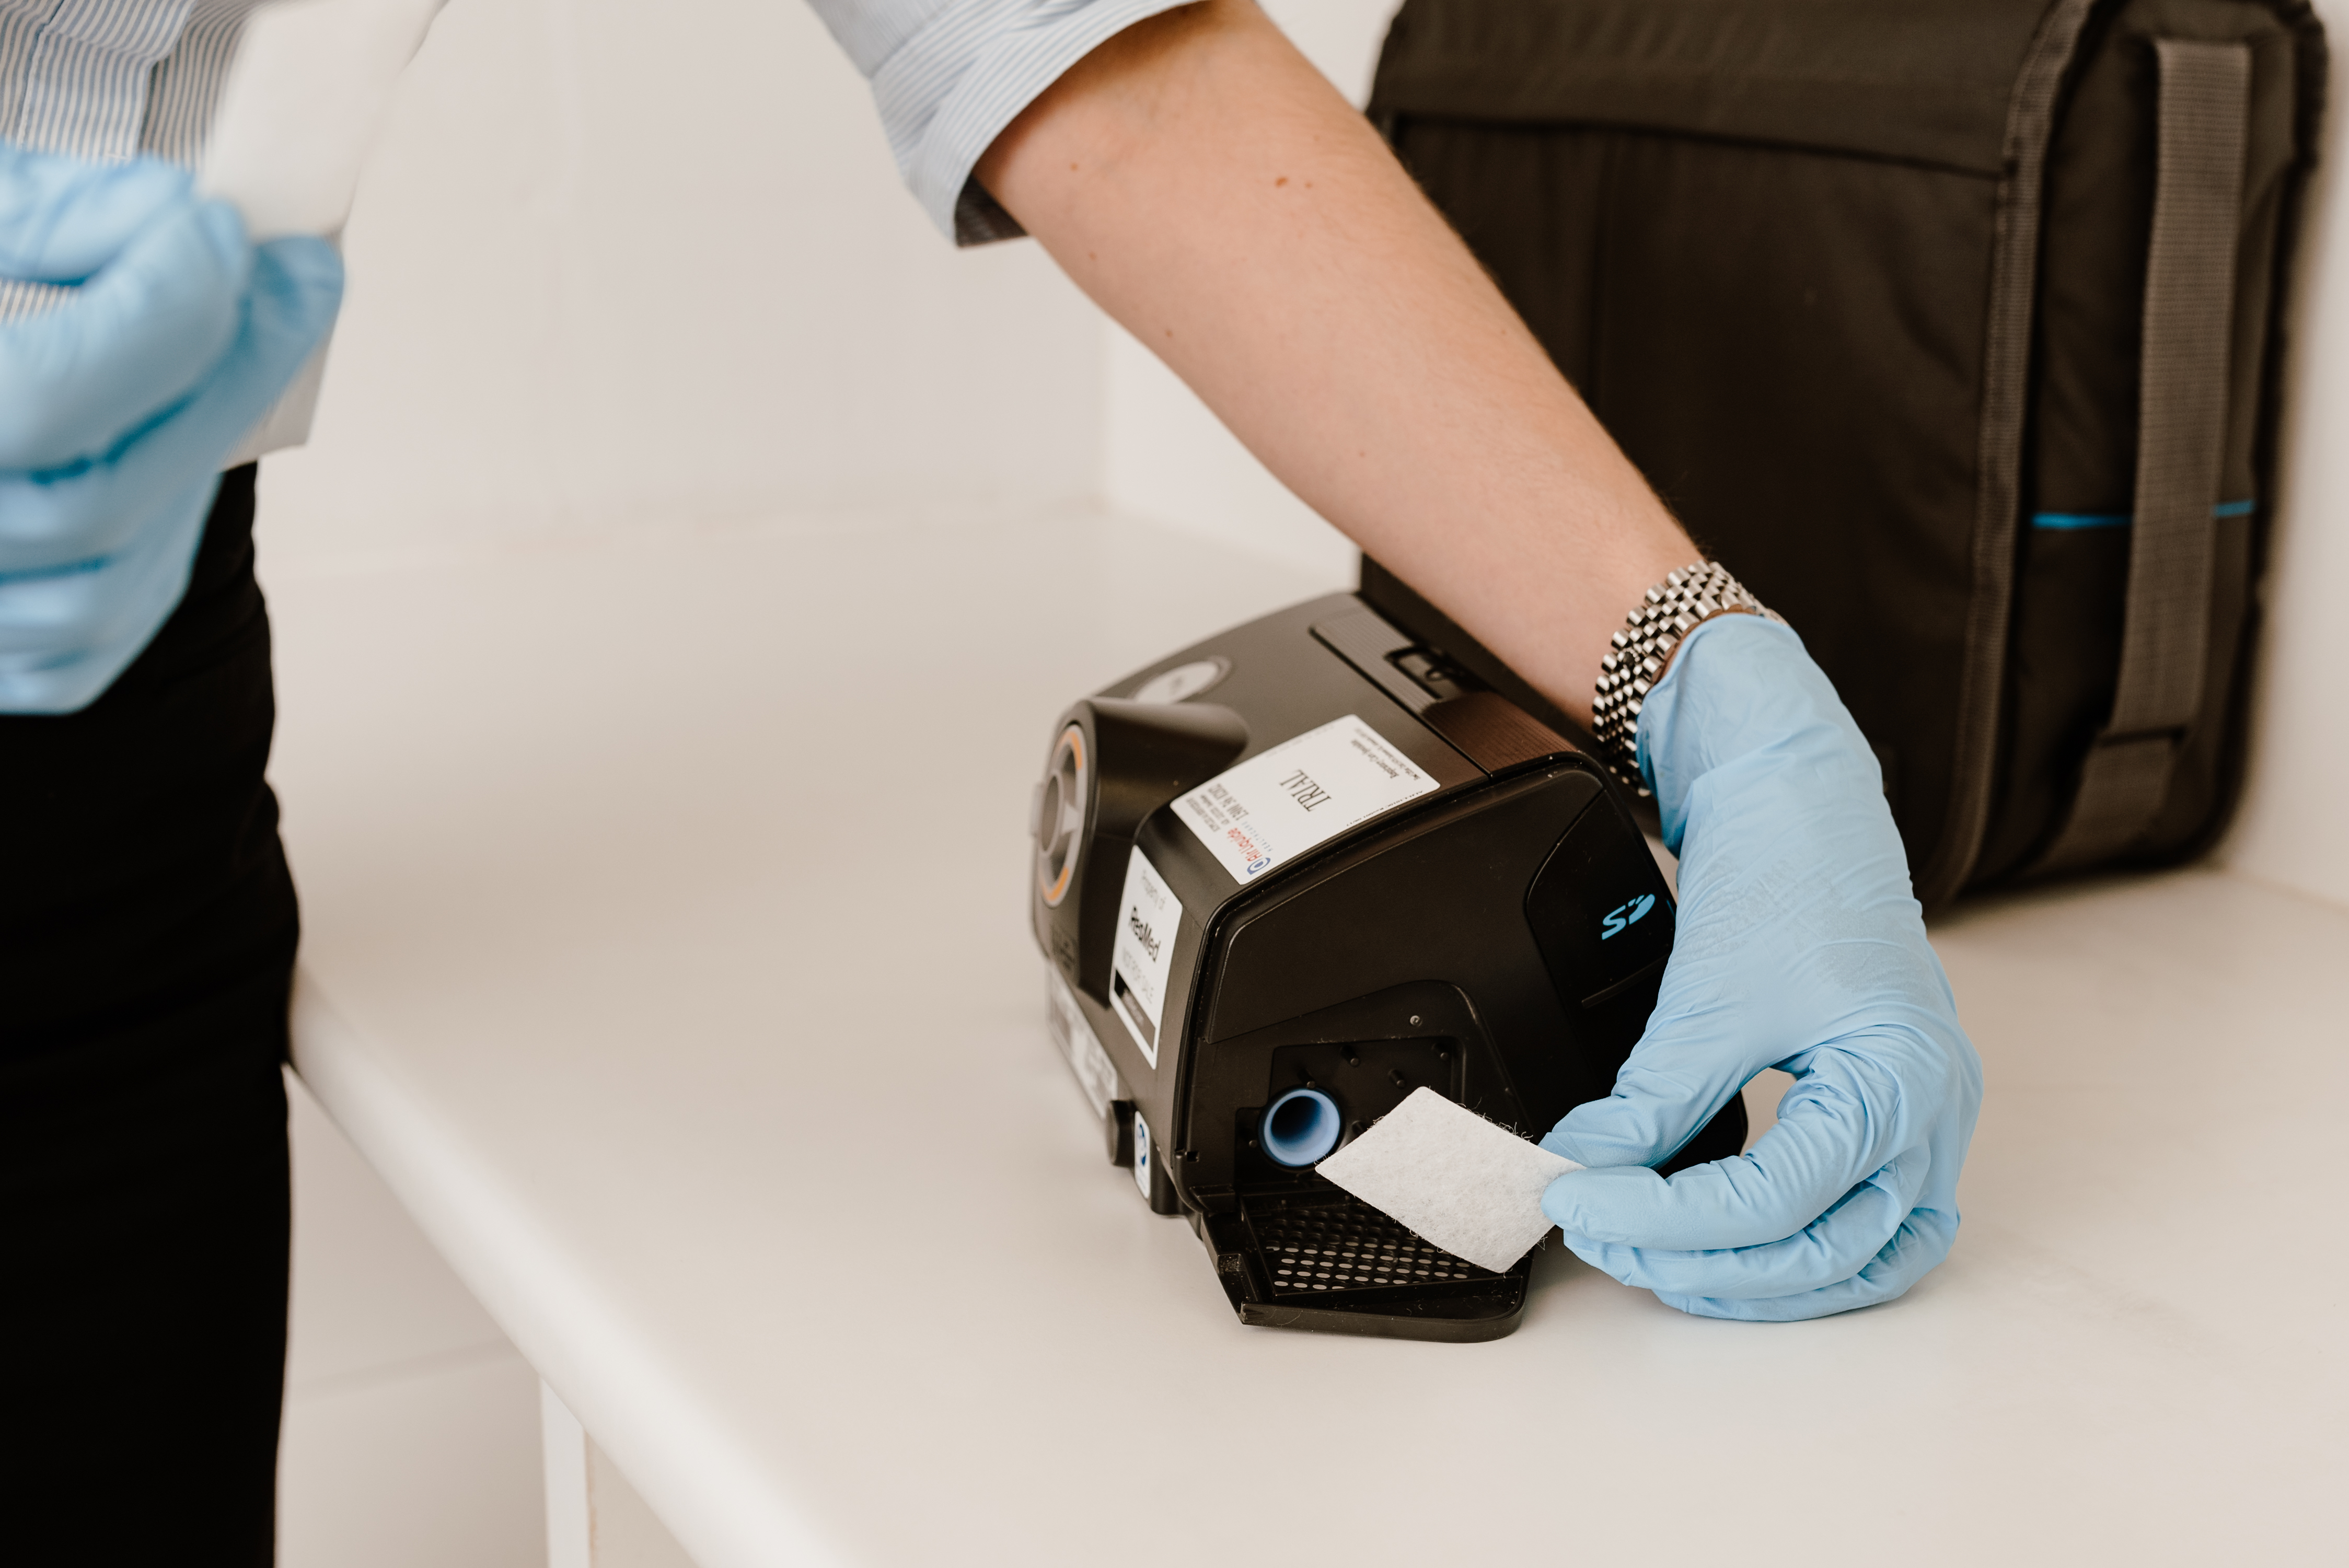
Machine and Filter
1) Check your filters weekly for dust build up. Replace filters as needed (1-6 months depending on the type of filter). Ensure the filter is not rotated when returned to the machine (it can suck debris into the motor).
2) Wipe your machine down. Have it assessed every 1-2 years or if you hear any abnormal sounds.
Important note: Prolonged and repeated use of ozone on your device may eventually cause internal damage, leading to an increase in motor noise and can void the warranty.
We strongly discourage you from using the products listed below to clean CPAP equipment, as the residual vapors can be harmful if inhaled.
- Aromatic-based solutions or scented oils (e.g. eucalyptus or essential oils)
- Antibacterial soaps
- Dish Detergent (even if they are mild)
- Alcohol
- Bleach
- Strong-smelling products (e.g. soaps with citrus)
- Washing machine or dryer
For cleaning assistance, check out our cleaning pack here https://store.airliquidehealthcare.com.au/en/cleaning/cleaning-starter-kit/#/196-filter-fisher_paykel
PAP Cleaning Guide
Regularly clean your tubing assembly, water tub and mask to receive optimal therapy and to prevent the growth of germs that can adversely affect your health.
Step 1: Unplug your PAP device from the power source and place on a flat surface. Open the air filter cover.
Step 2: Remove air filter and assess cleanliness, if white place back on cover. If discoloured, dispose in bin and replace with new air filter. The air filter is not washable and should be changed every 1-6 months.
Step 3: Remove the humidifier chamber, empty remaining water and dismantle parts where possible.

Step 4: Fill basin with 1 part vinegar, 5 parts warm water. Soak for 30 mins.
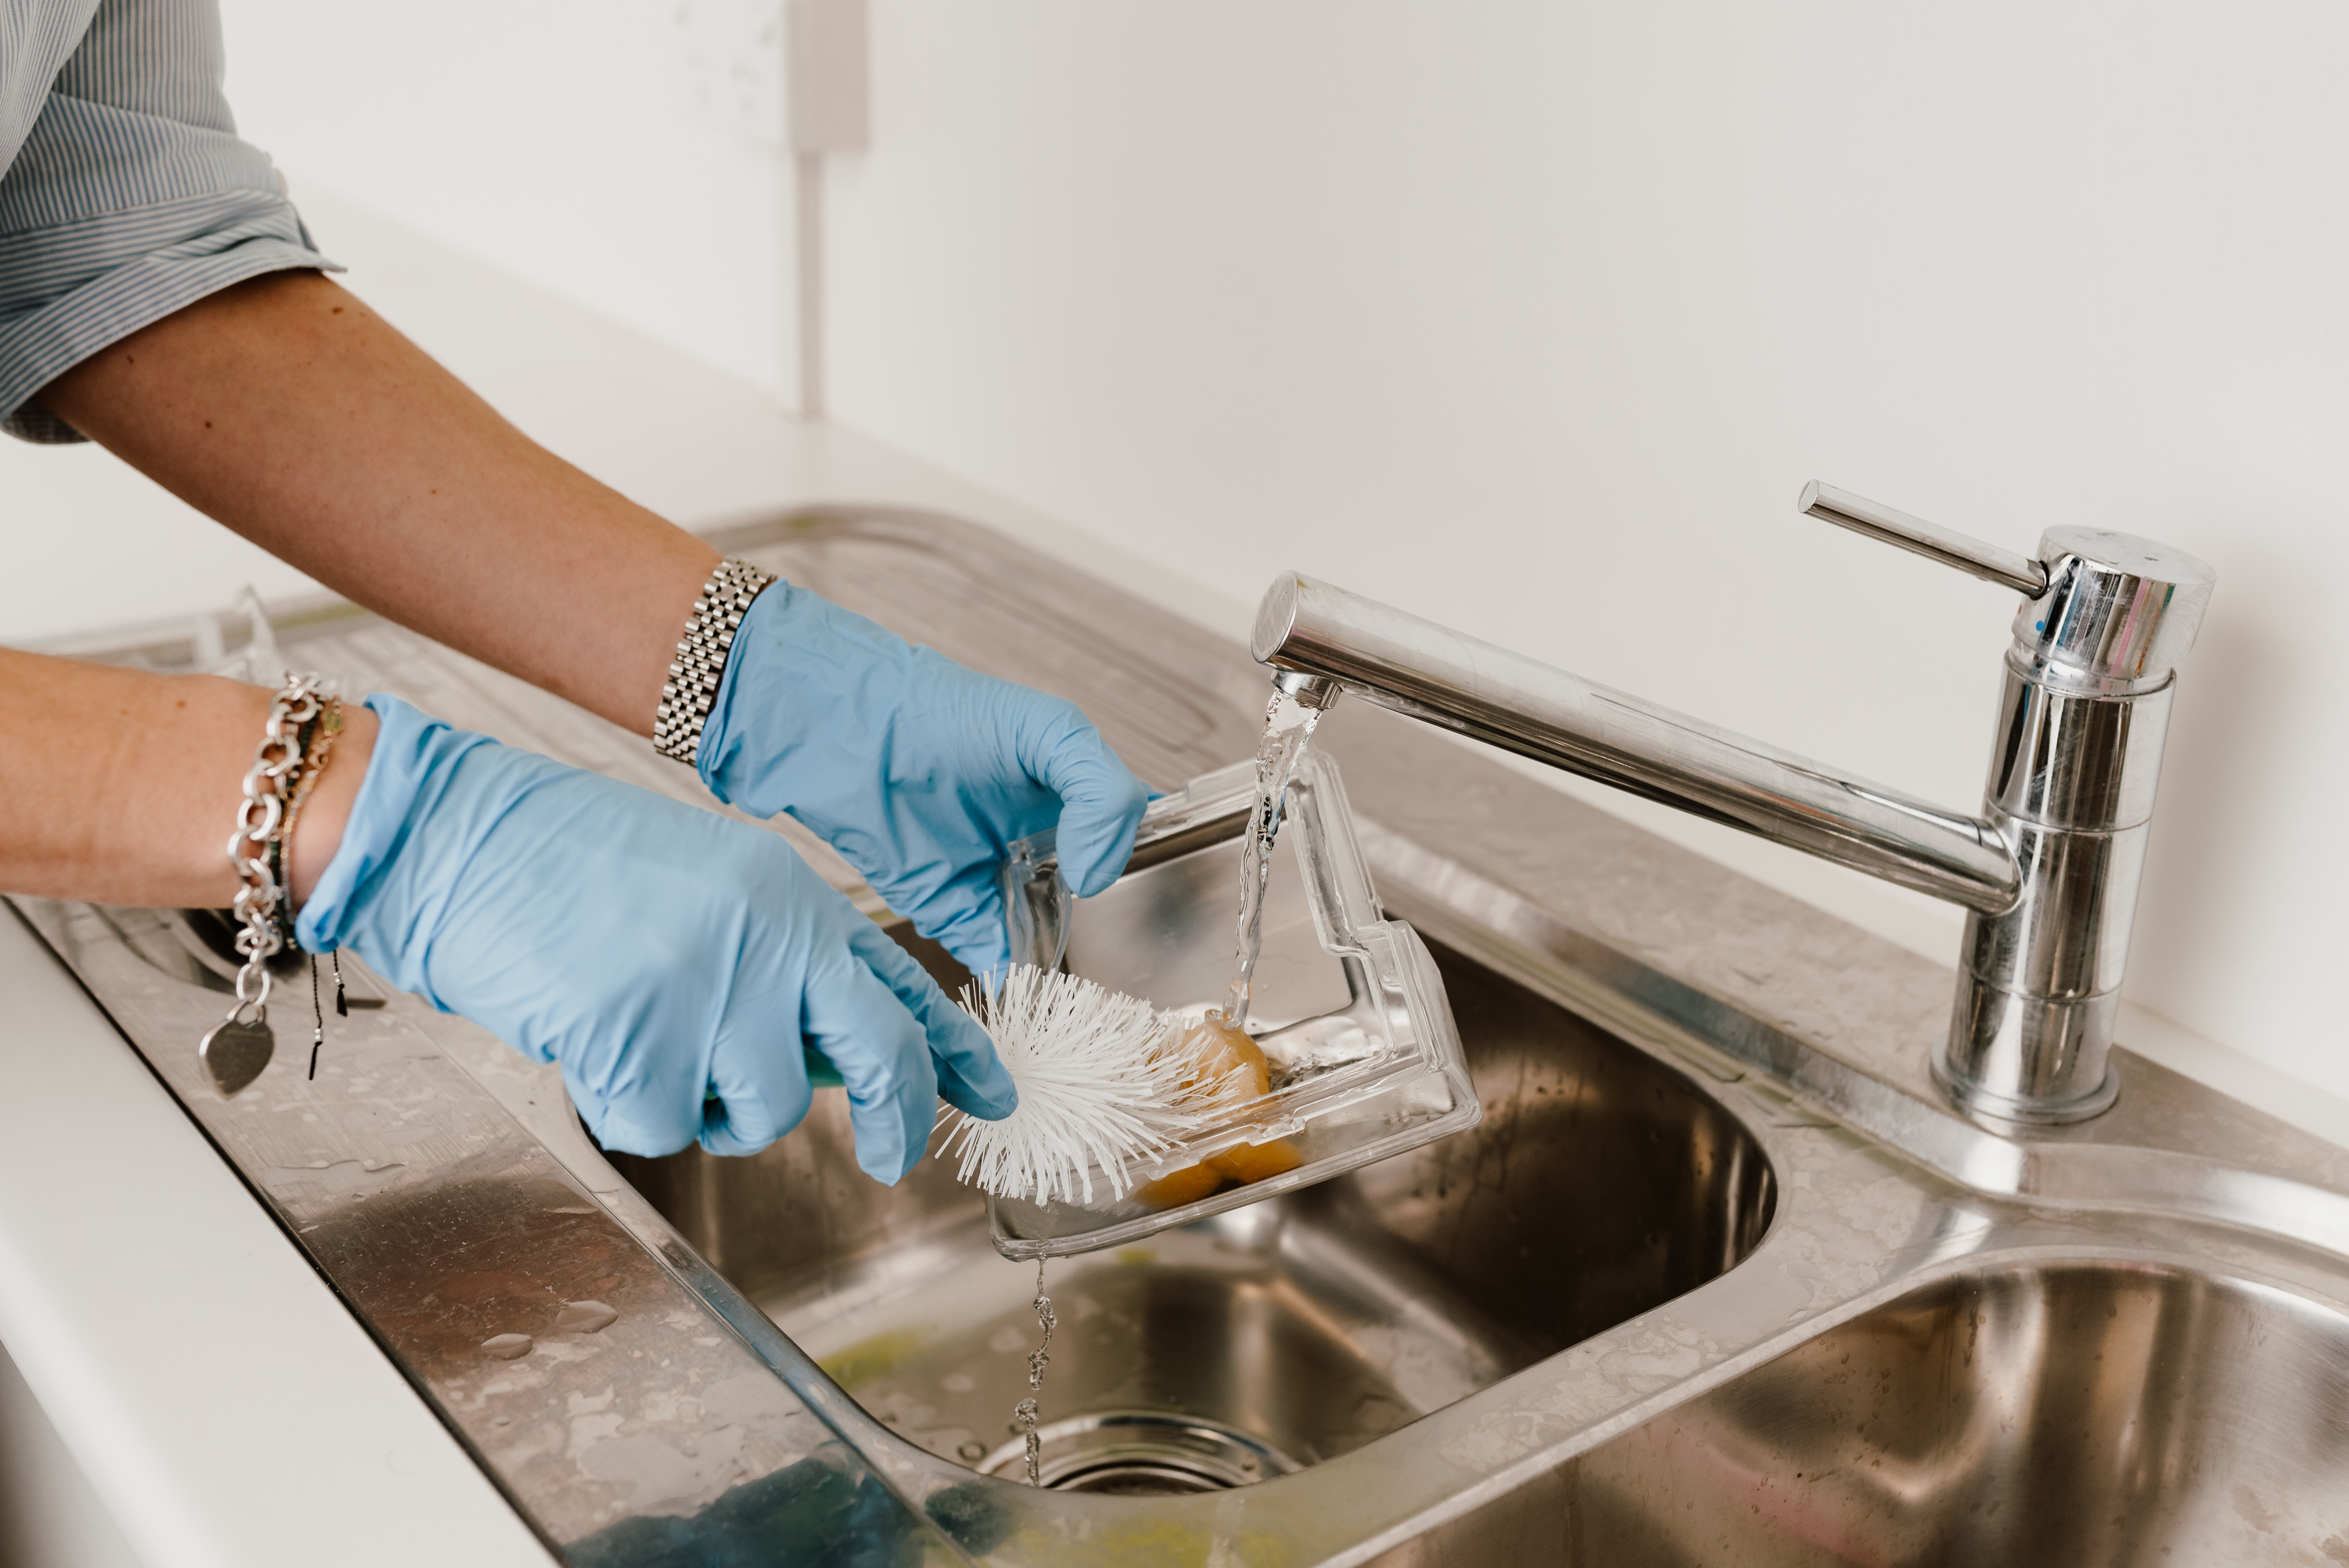
Step 5: Remove humidifier chamber from basin and rinse thoroughly. We find a bottle brush to be an effective cleaning tool.
Step 6: Air dry during the day and avoid direct sunlight.
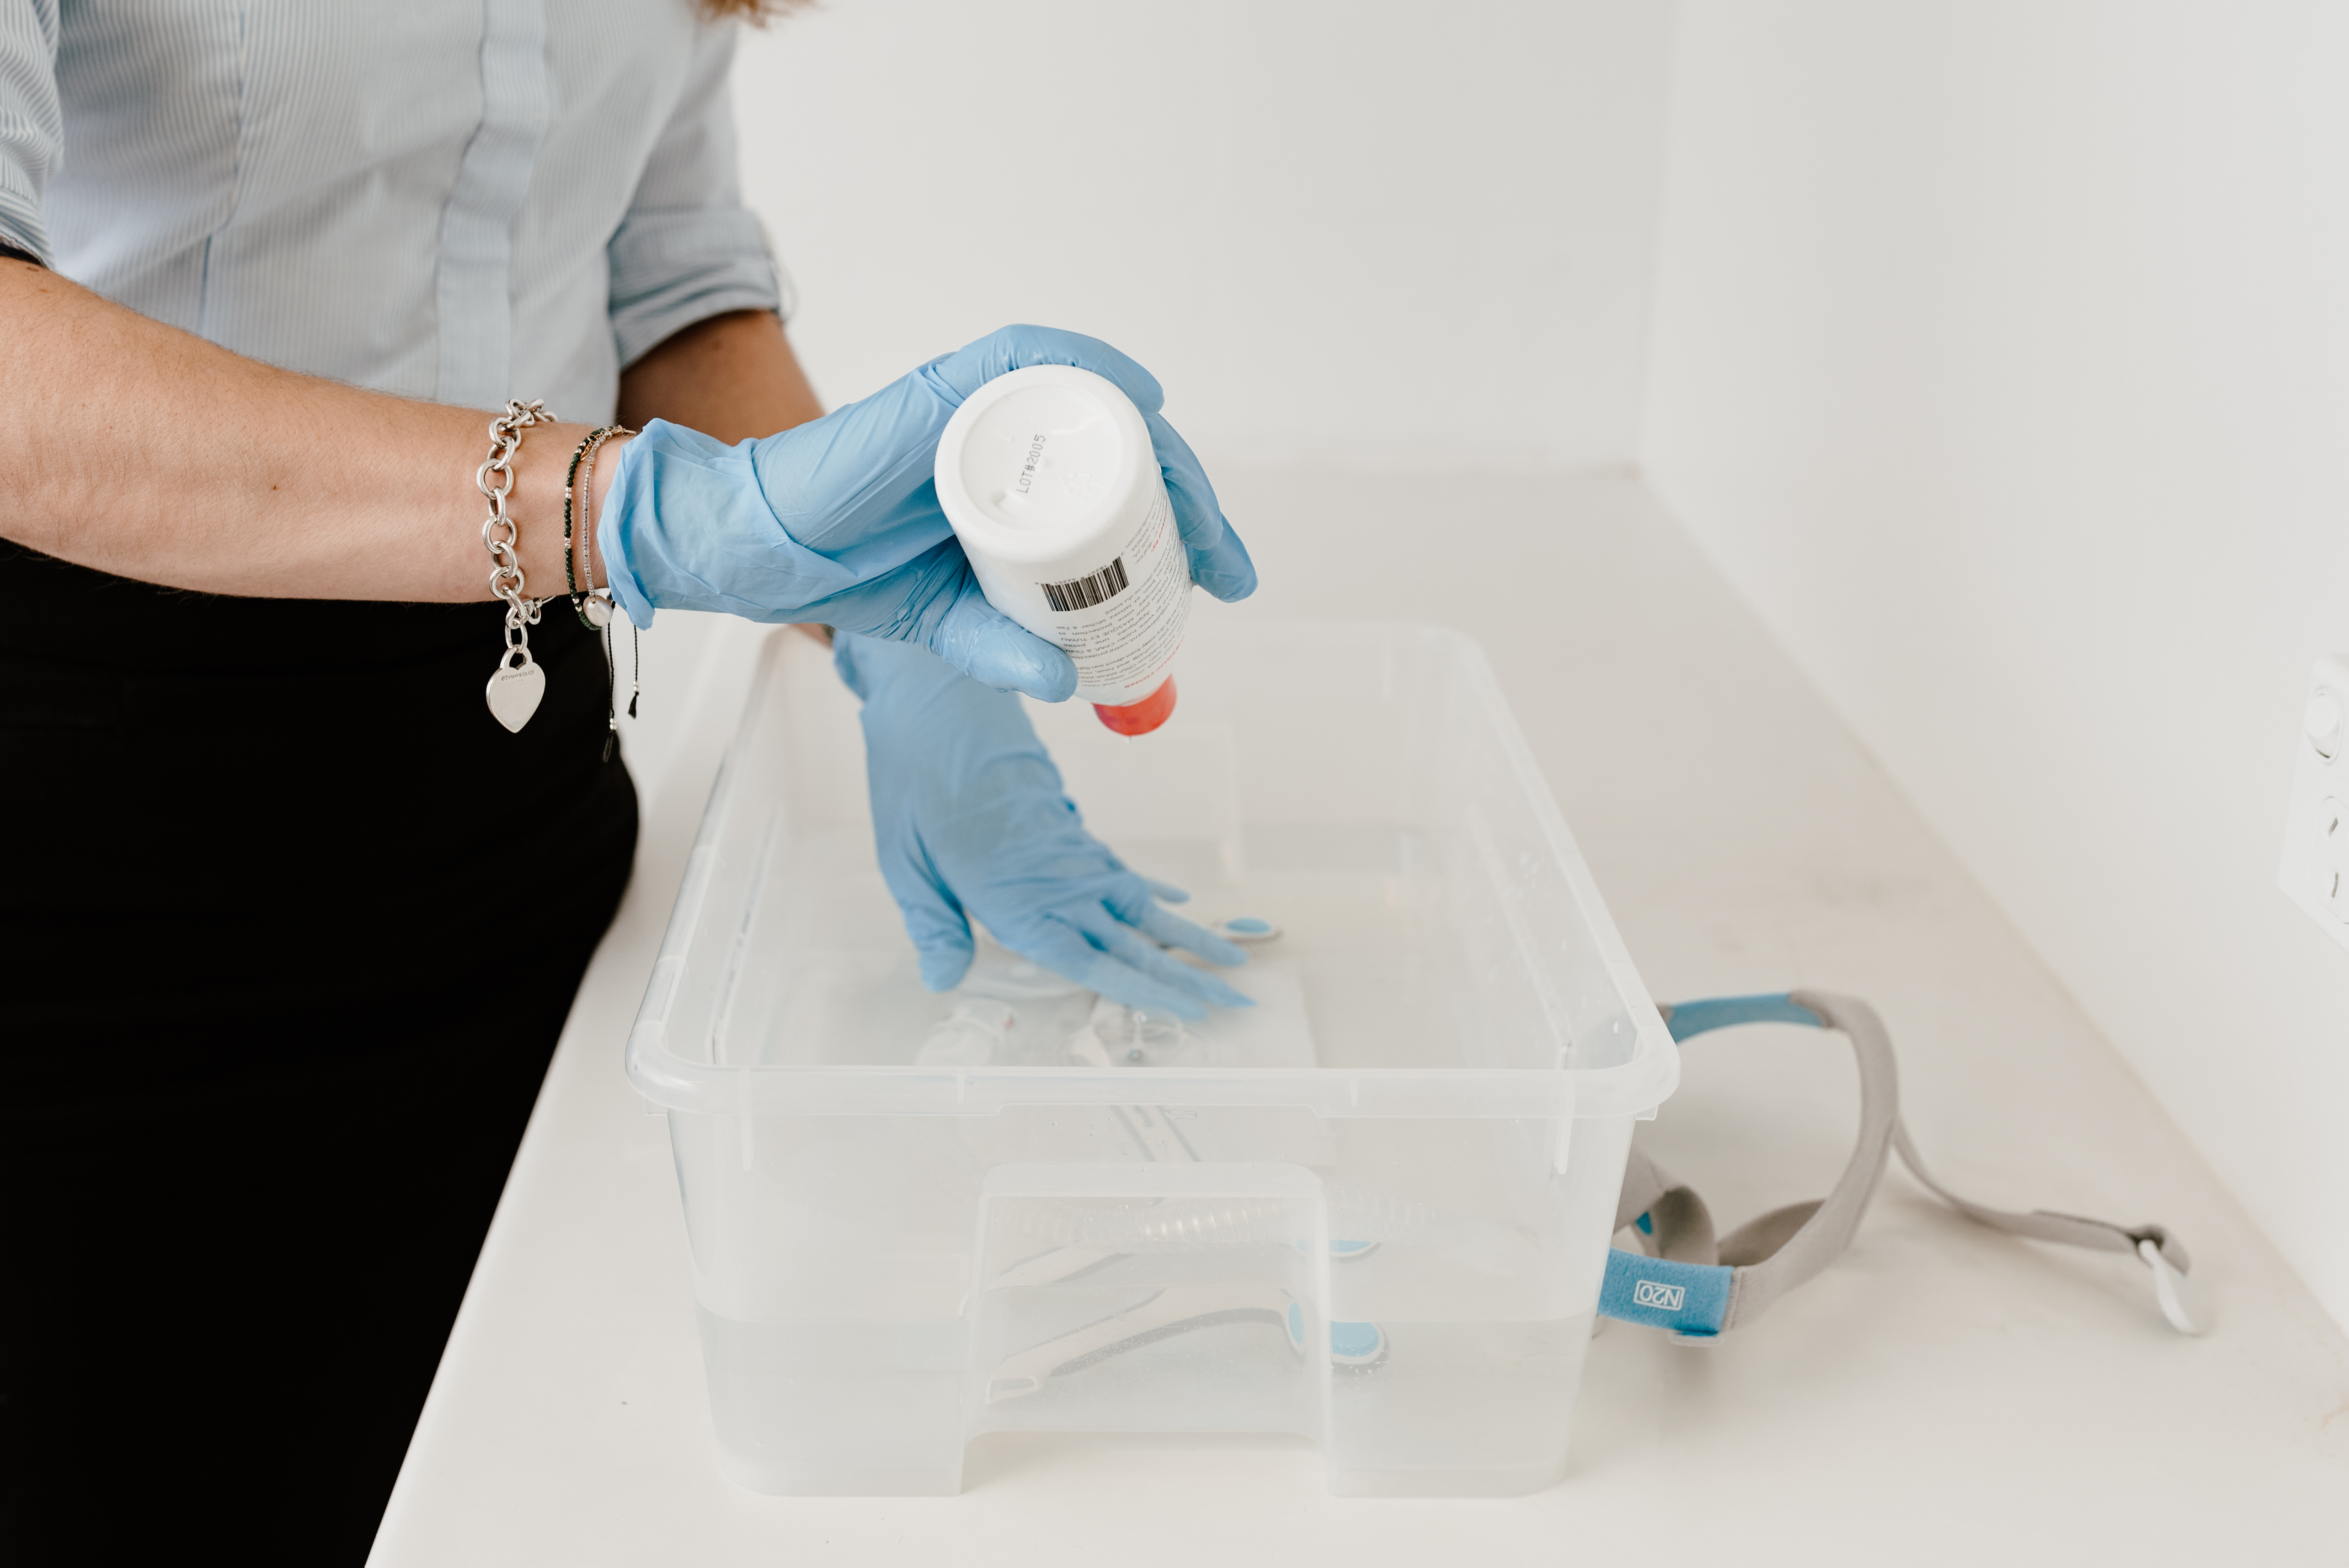
Step 7: Fill basin with warm soapy water. Avoid using strong cleaning products including dish detergents as they may damage the mask or leave harmful residue.
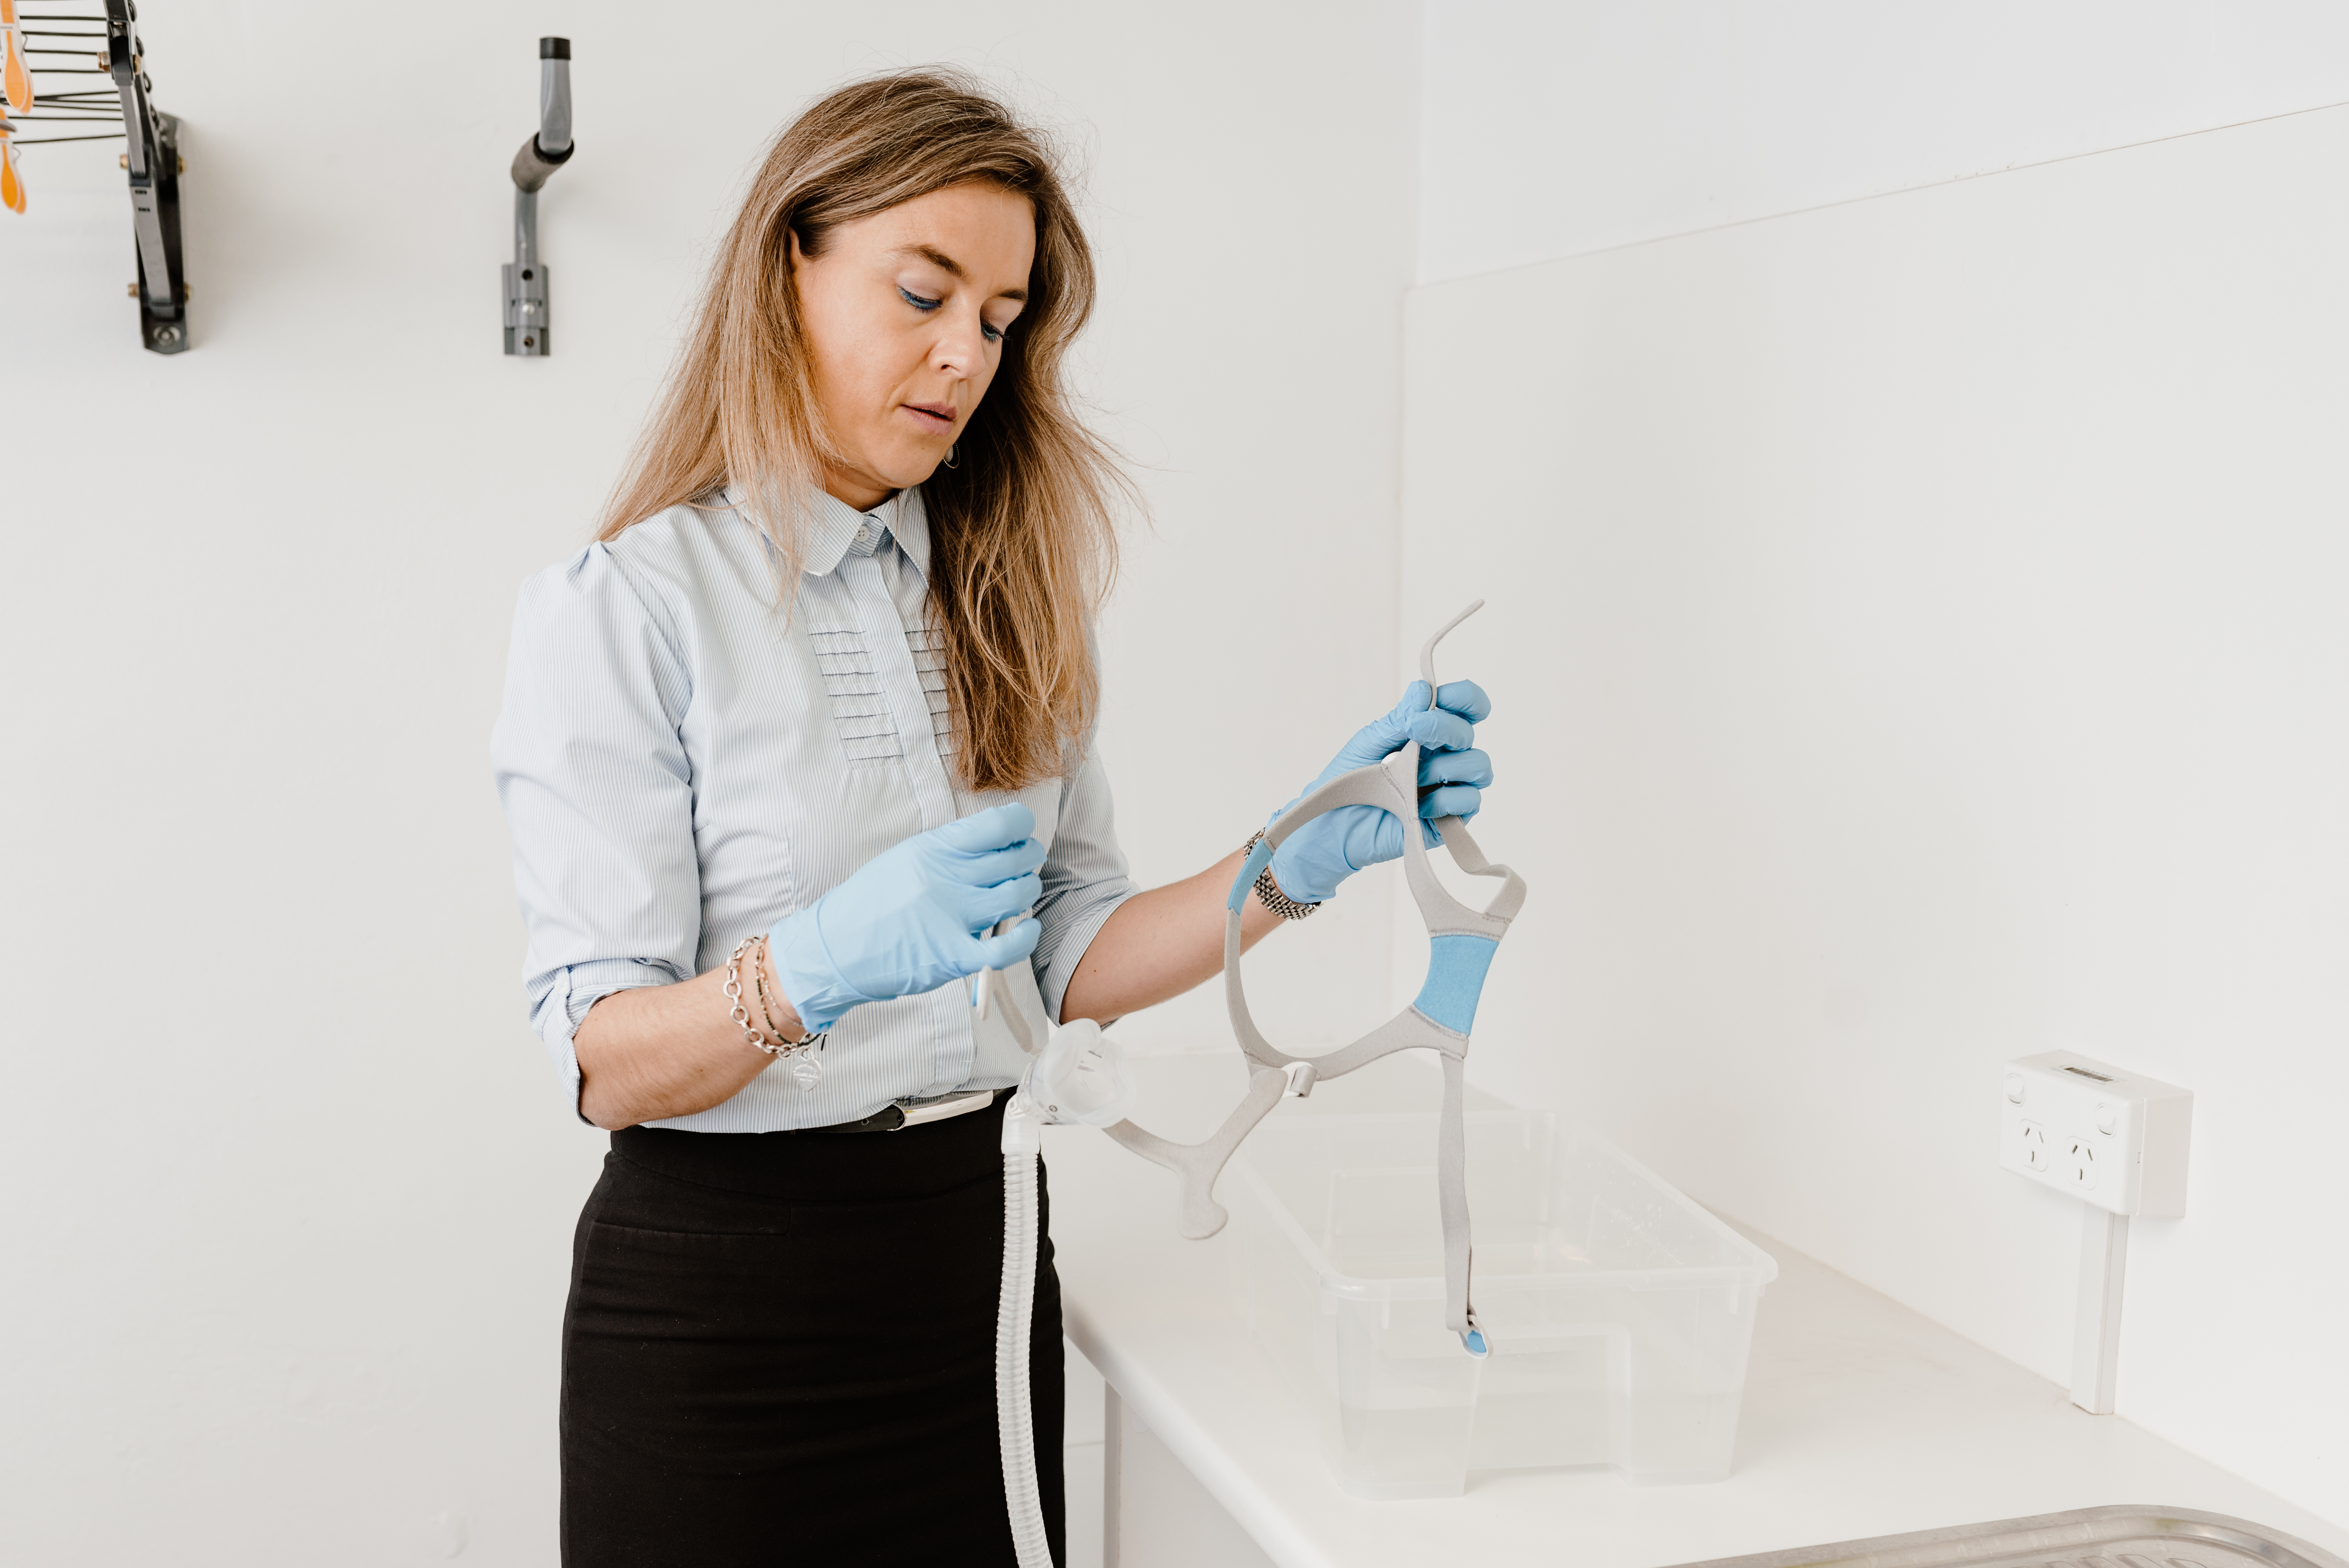
Step 8: Disassemble all mask parts.
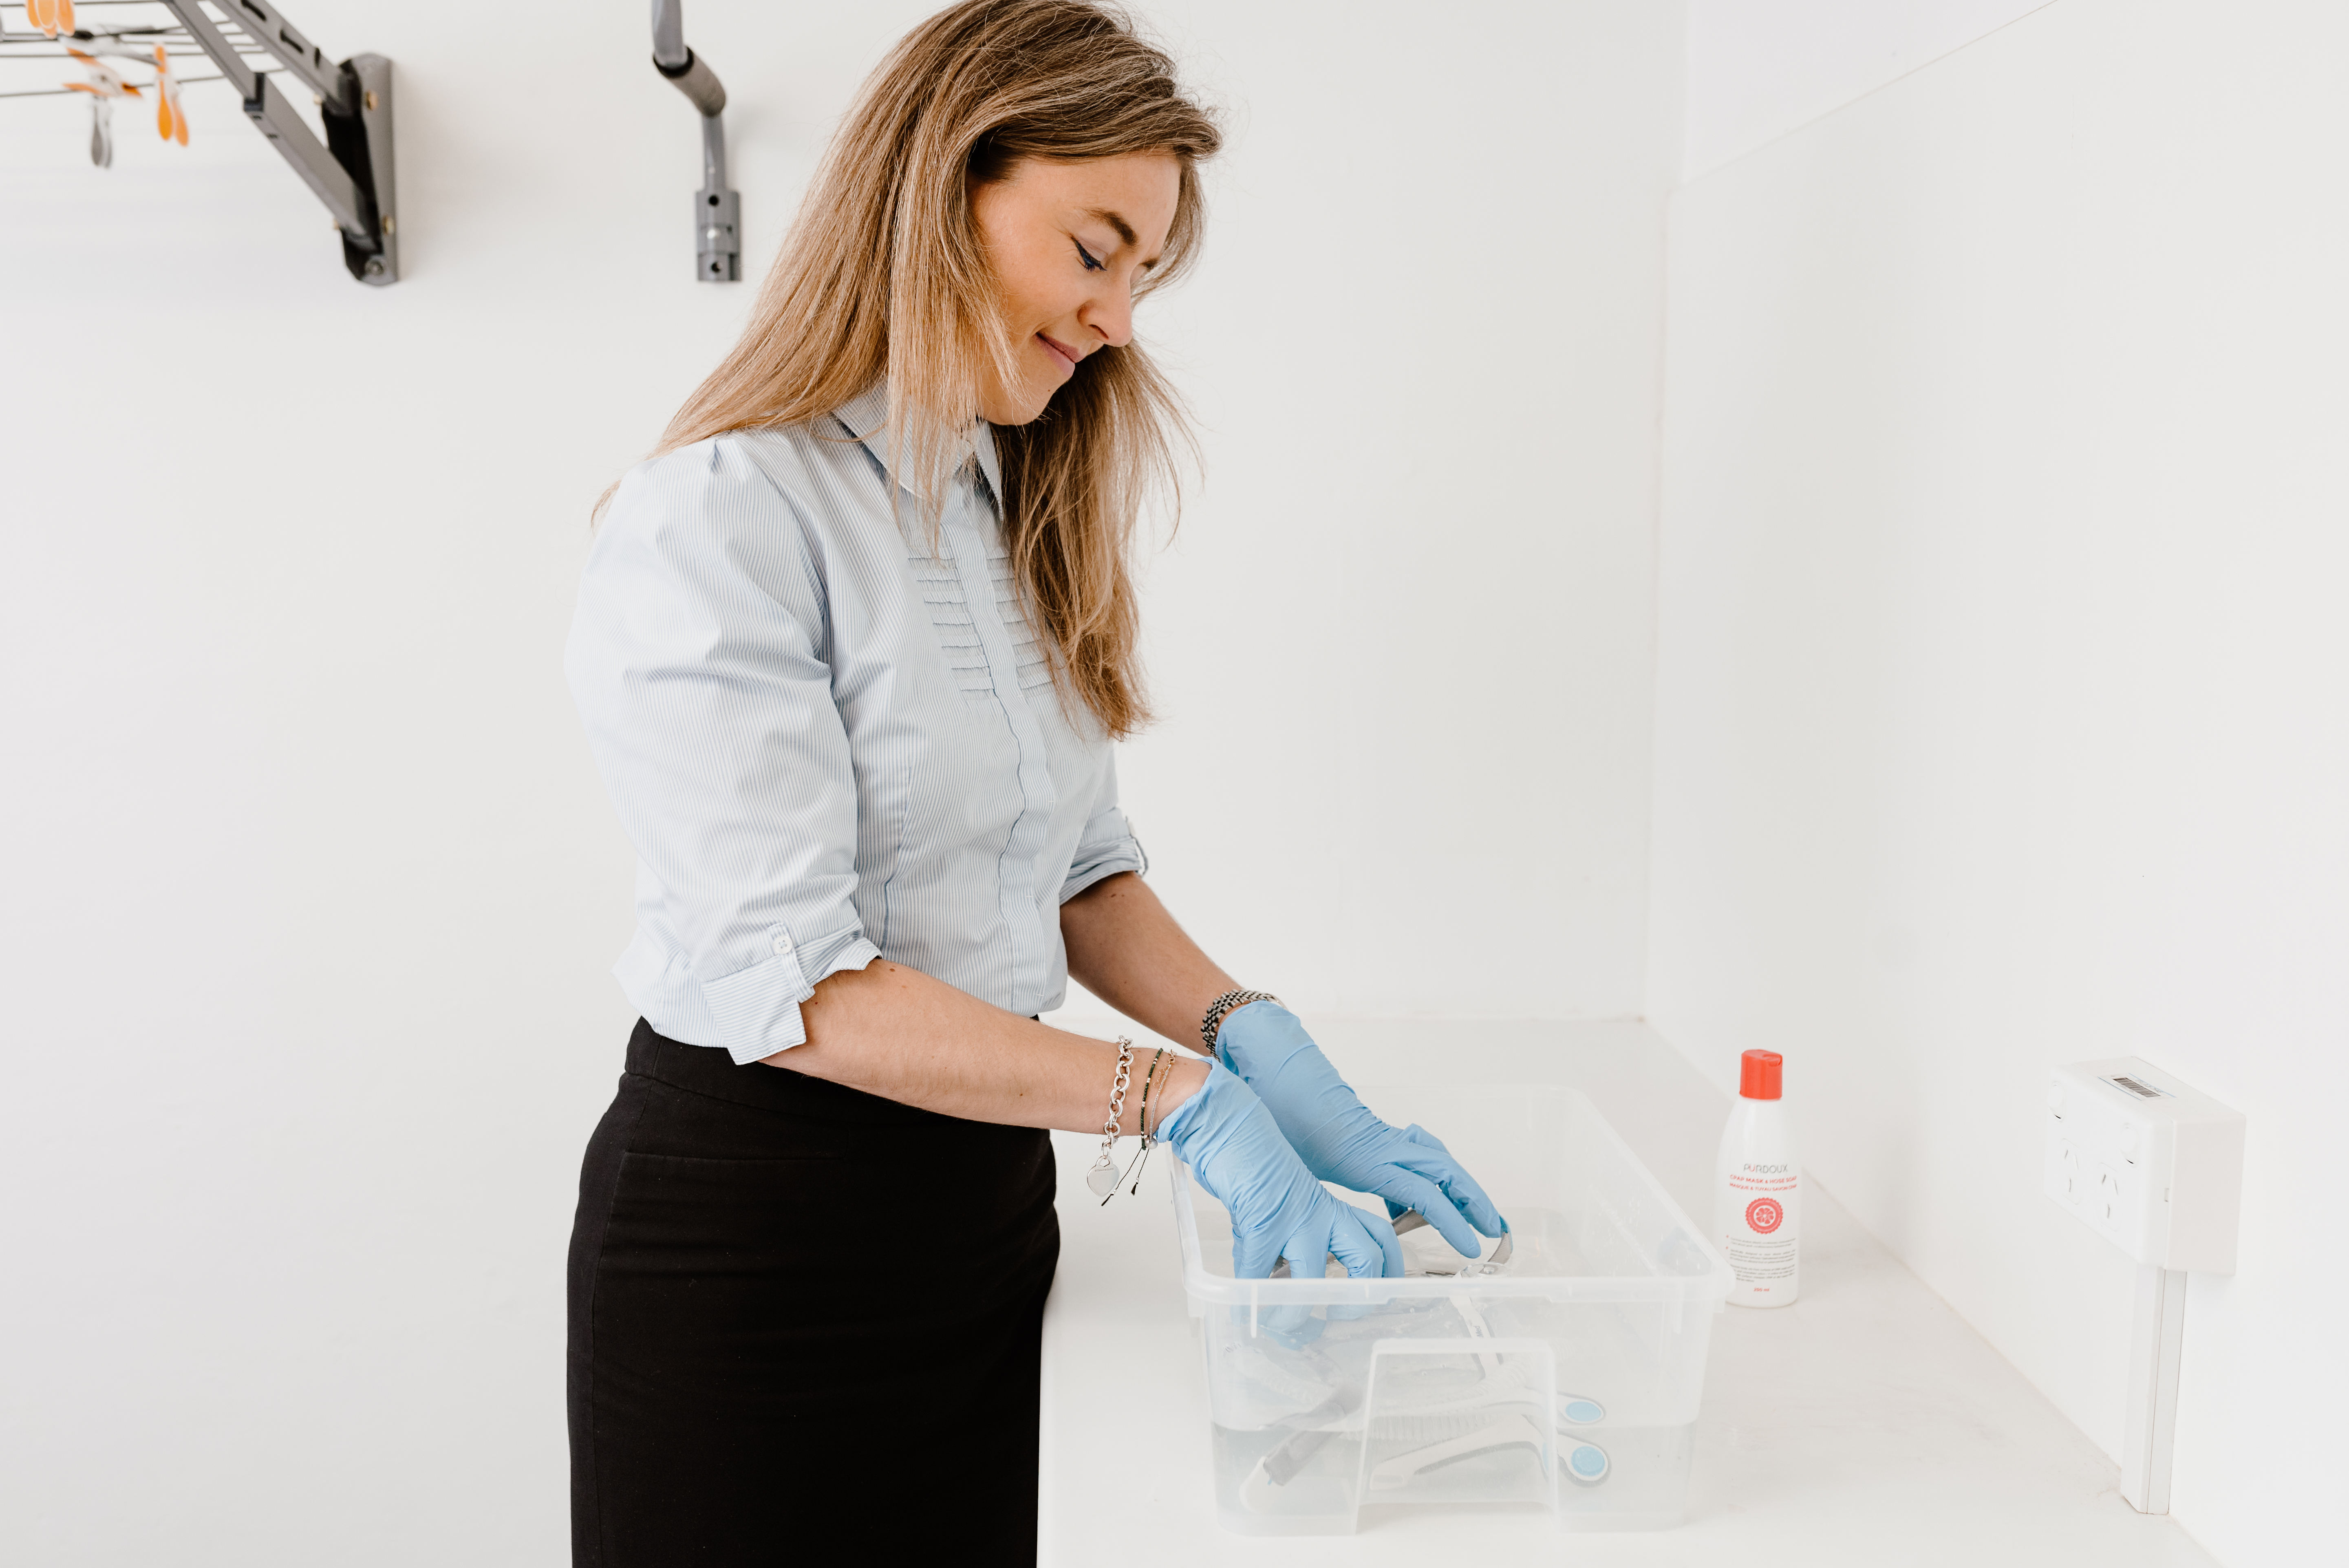
Step 9: Submerge all mask parts in water including headgear. Gently rub mask parts with hands to remove any oils.
Step 10: Rinse all parts thoroughly then let air dry during the day on a flat surface. Headgear can be hung to dry quicker. Avoid direct sunlight.
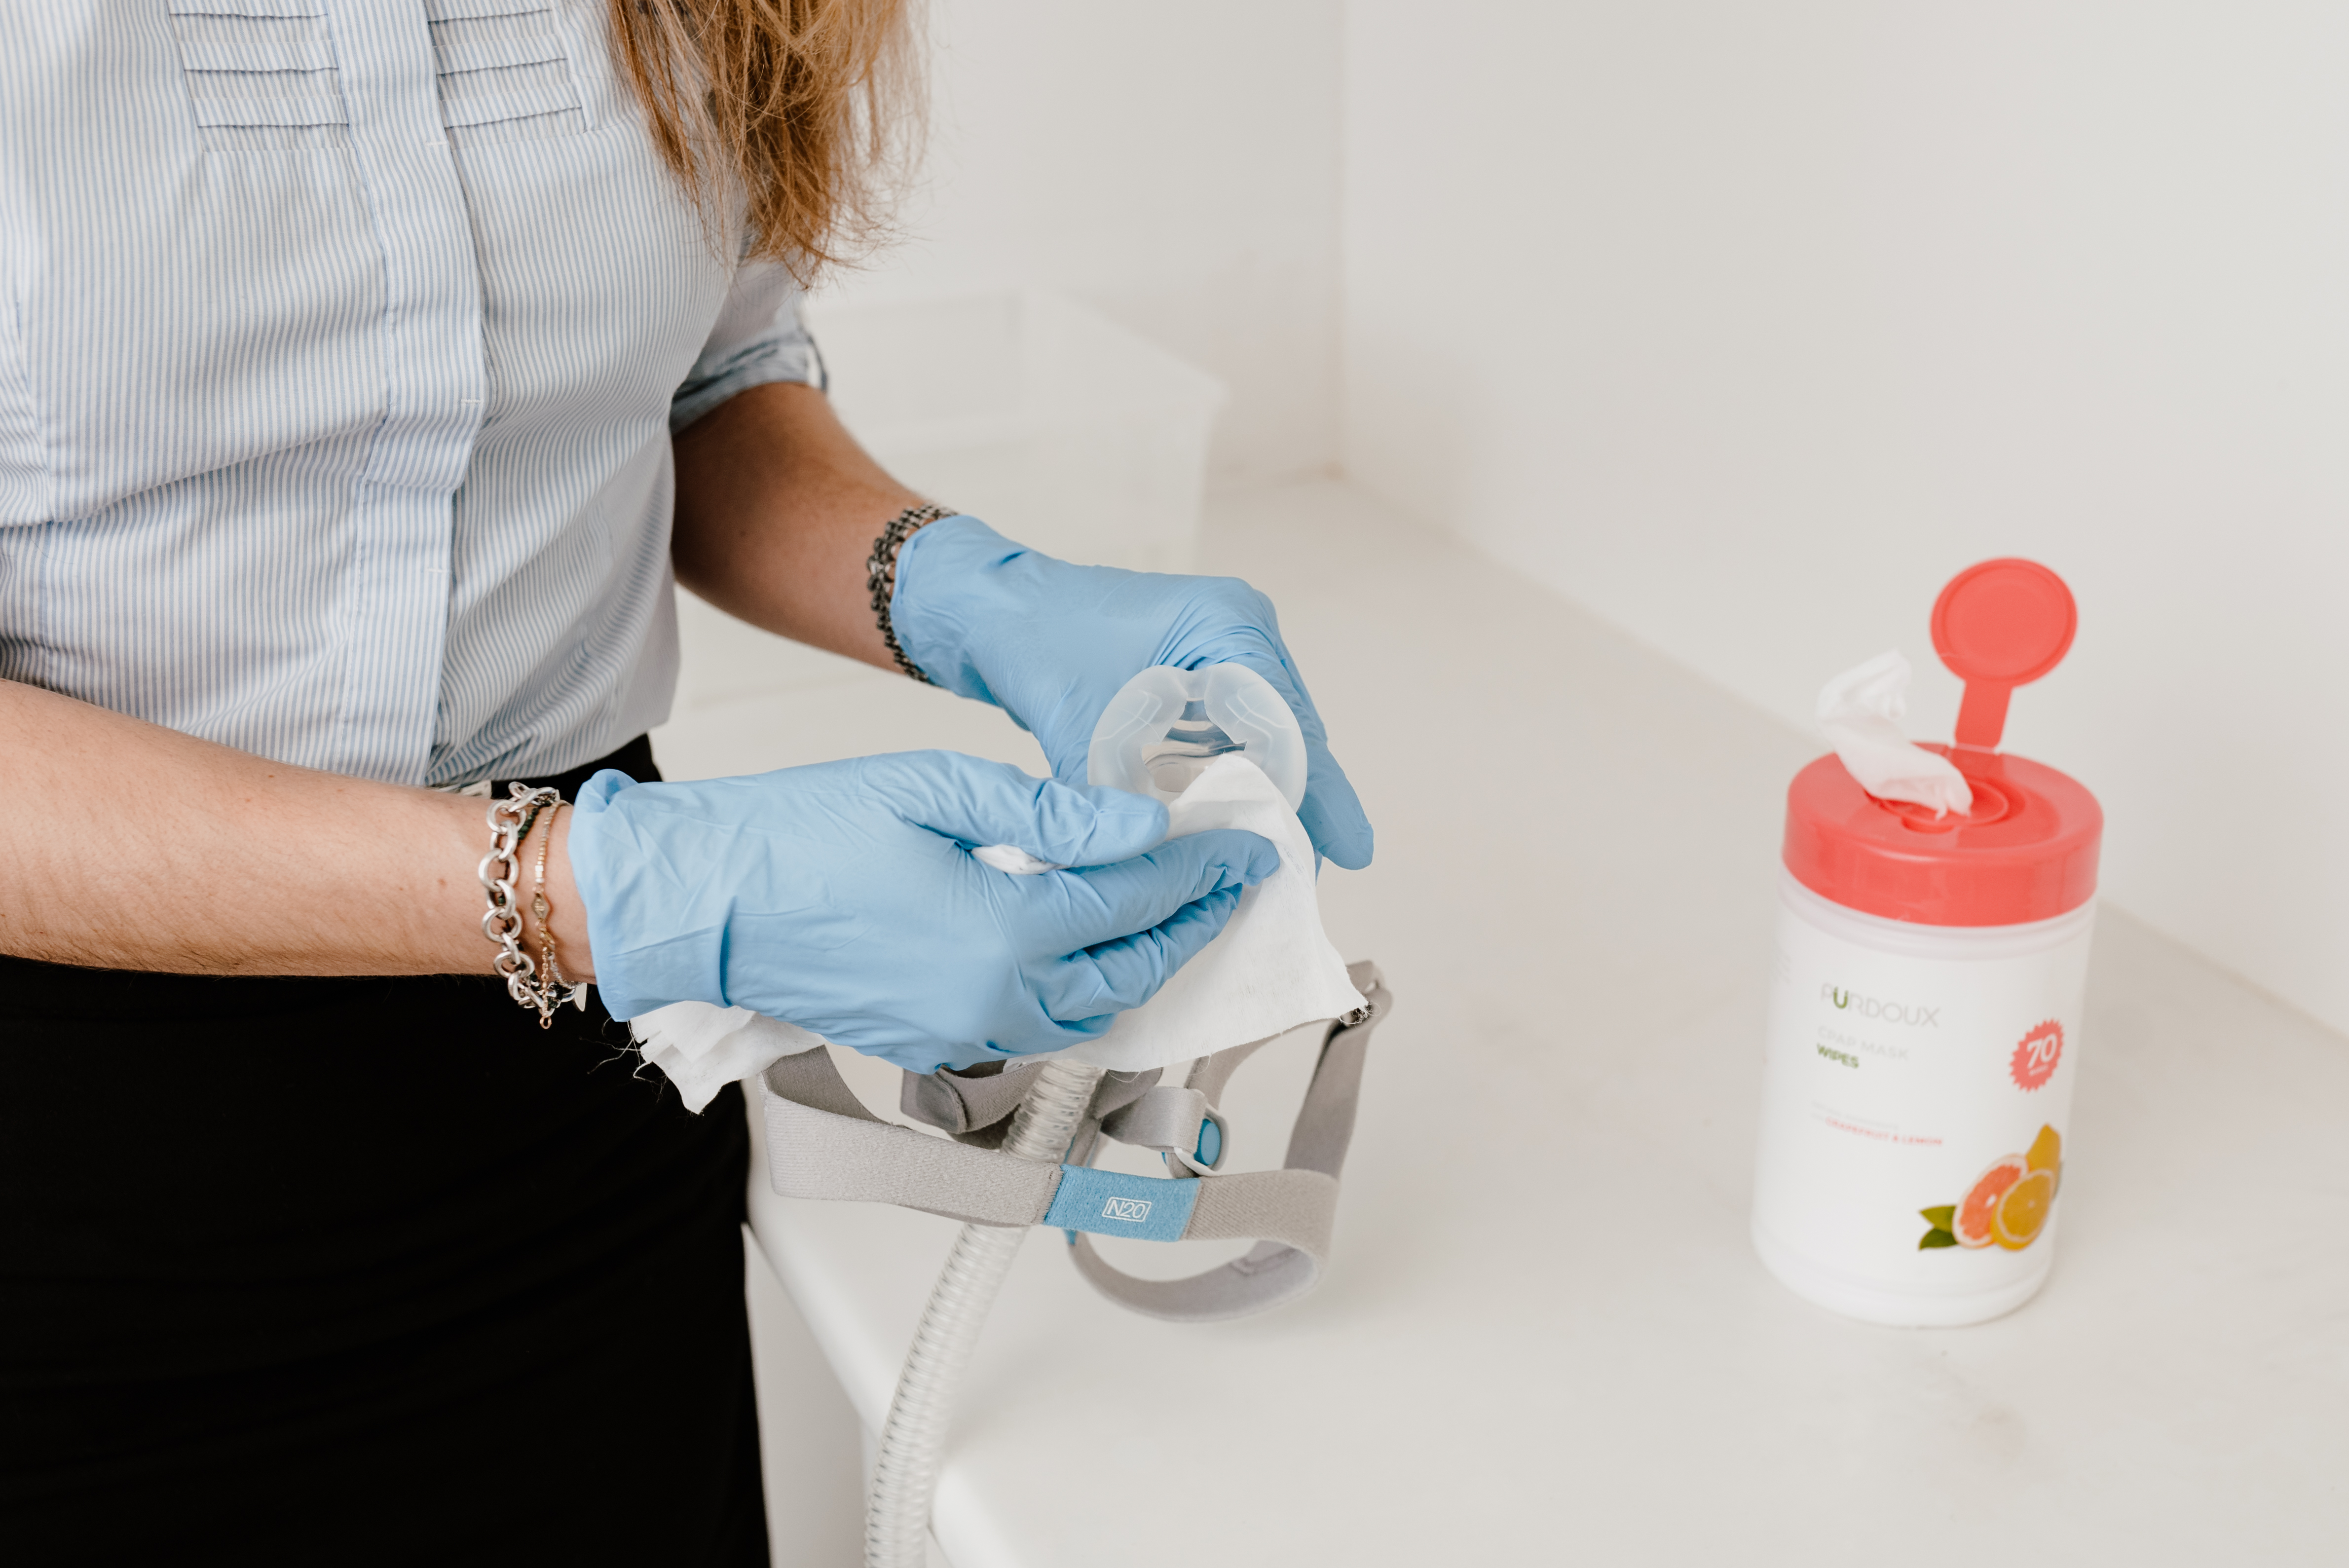
Step 11: Your mask can be cleaned daily using mask wipes. Wipe cushion, frame and tubing (if applicable) then let air dry. Avoid direct sunlight.
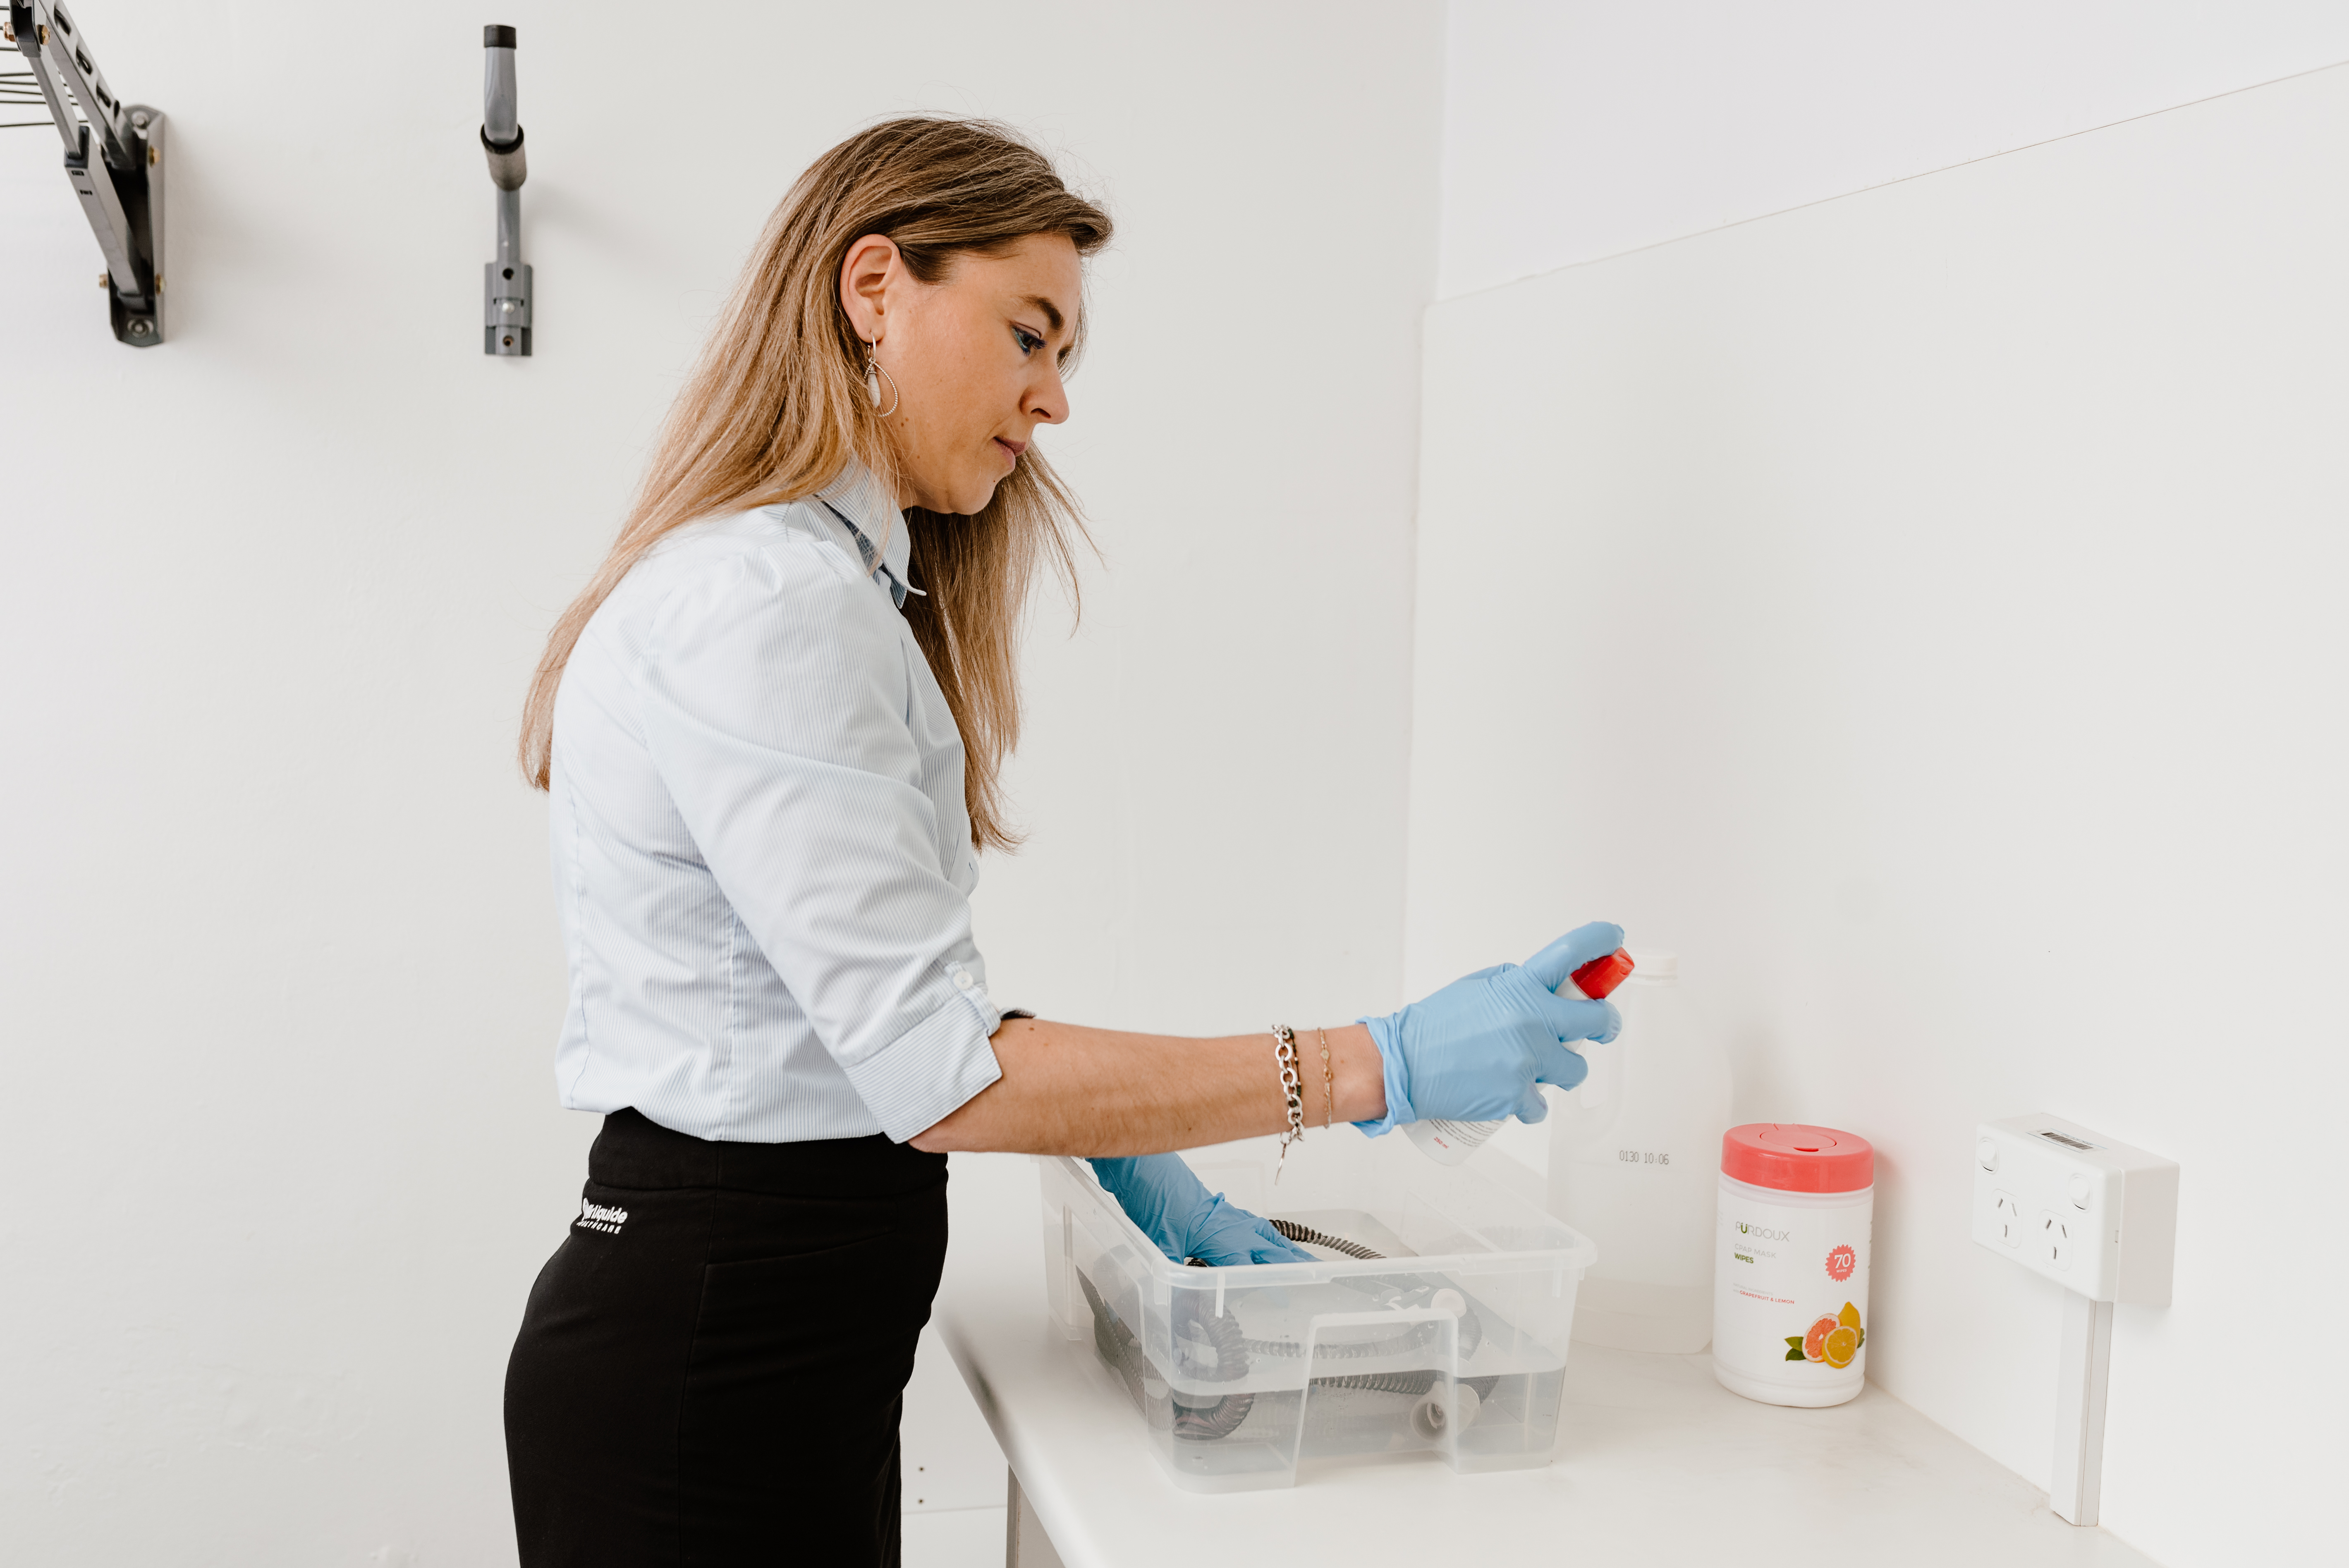
Step 12: Disconnect your air tubing from your mask and PAP device. Fill a basin with warm soapy water. Avoid using strong cleaning products, including dish detergents, as they may damage the air tubing or leave harmful residue.

Step 13: Submerge the air tubing in the warm soapy water allowing water to pass through the tubing.
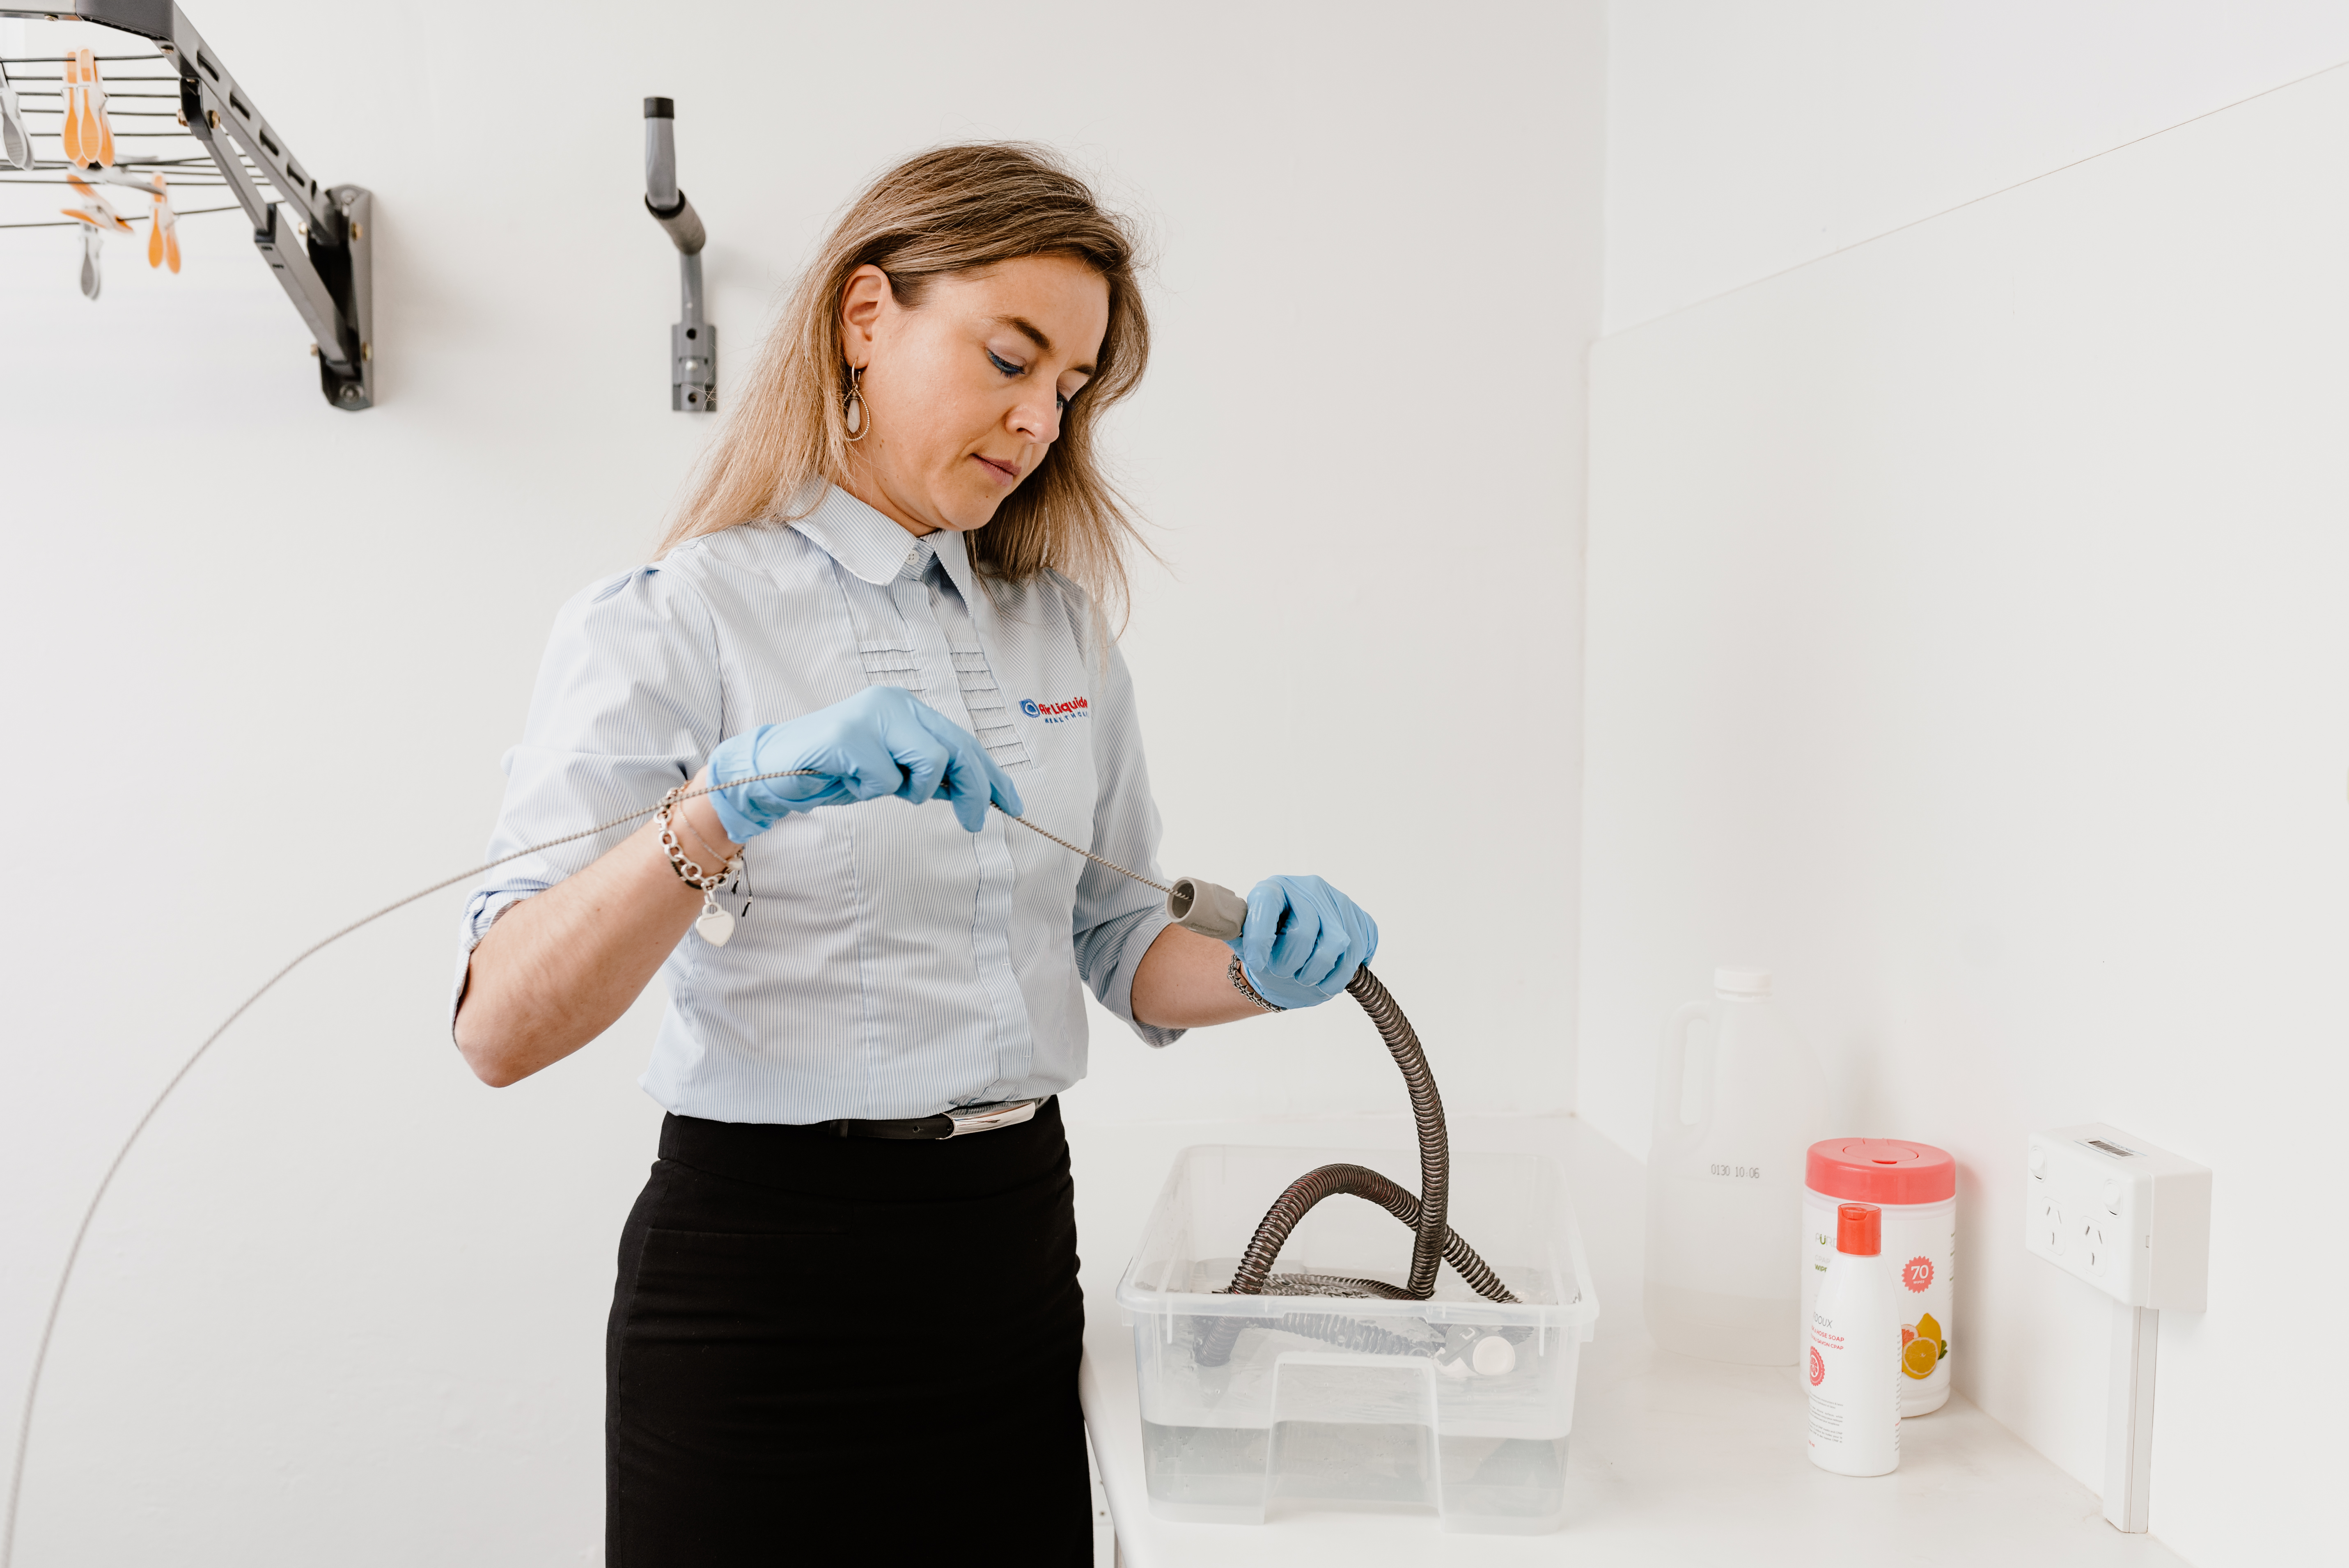
Step 14: Use a tubing brush to help scrub the inside of the air tubing.

Step 15: Move the tubing brush forward and backward for effective cleaning.

Step 16: Run warm water around and through the air tubing until all soap has been removed.

Step 17: Lift air tubing in a vertical motion to allow all water to escape from inside.
Step 18: Once dry, hang in an area out of direct sunlight. For quicker drying time, attach to your PAP device and turn on. The air flow dry the remaining water residue.
